Making a Roo
My wife Iliana and I have some exciting news. And to share this news with our family and friends, we created a short film (because, why not).
For posterity (and because this really was so much fun), I’m going to share some notes about the filmmaking process1.
But first, let’s watch the film:
Development
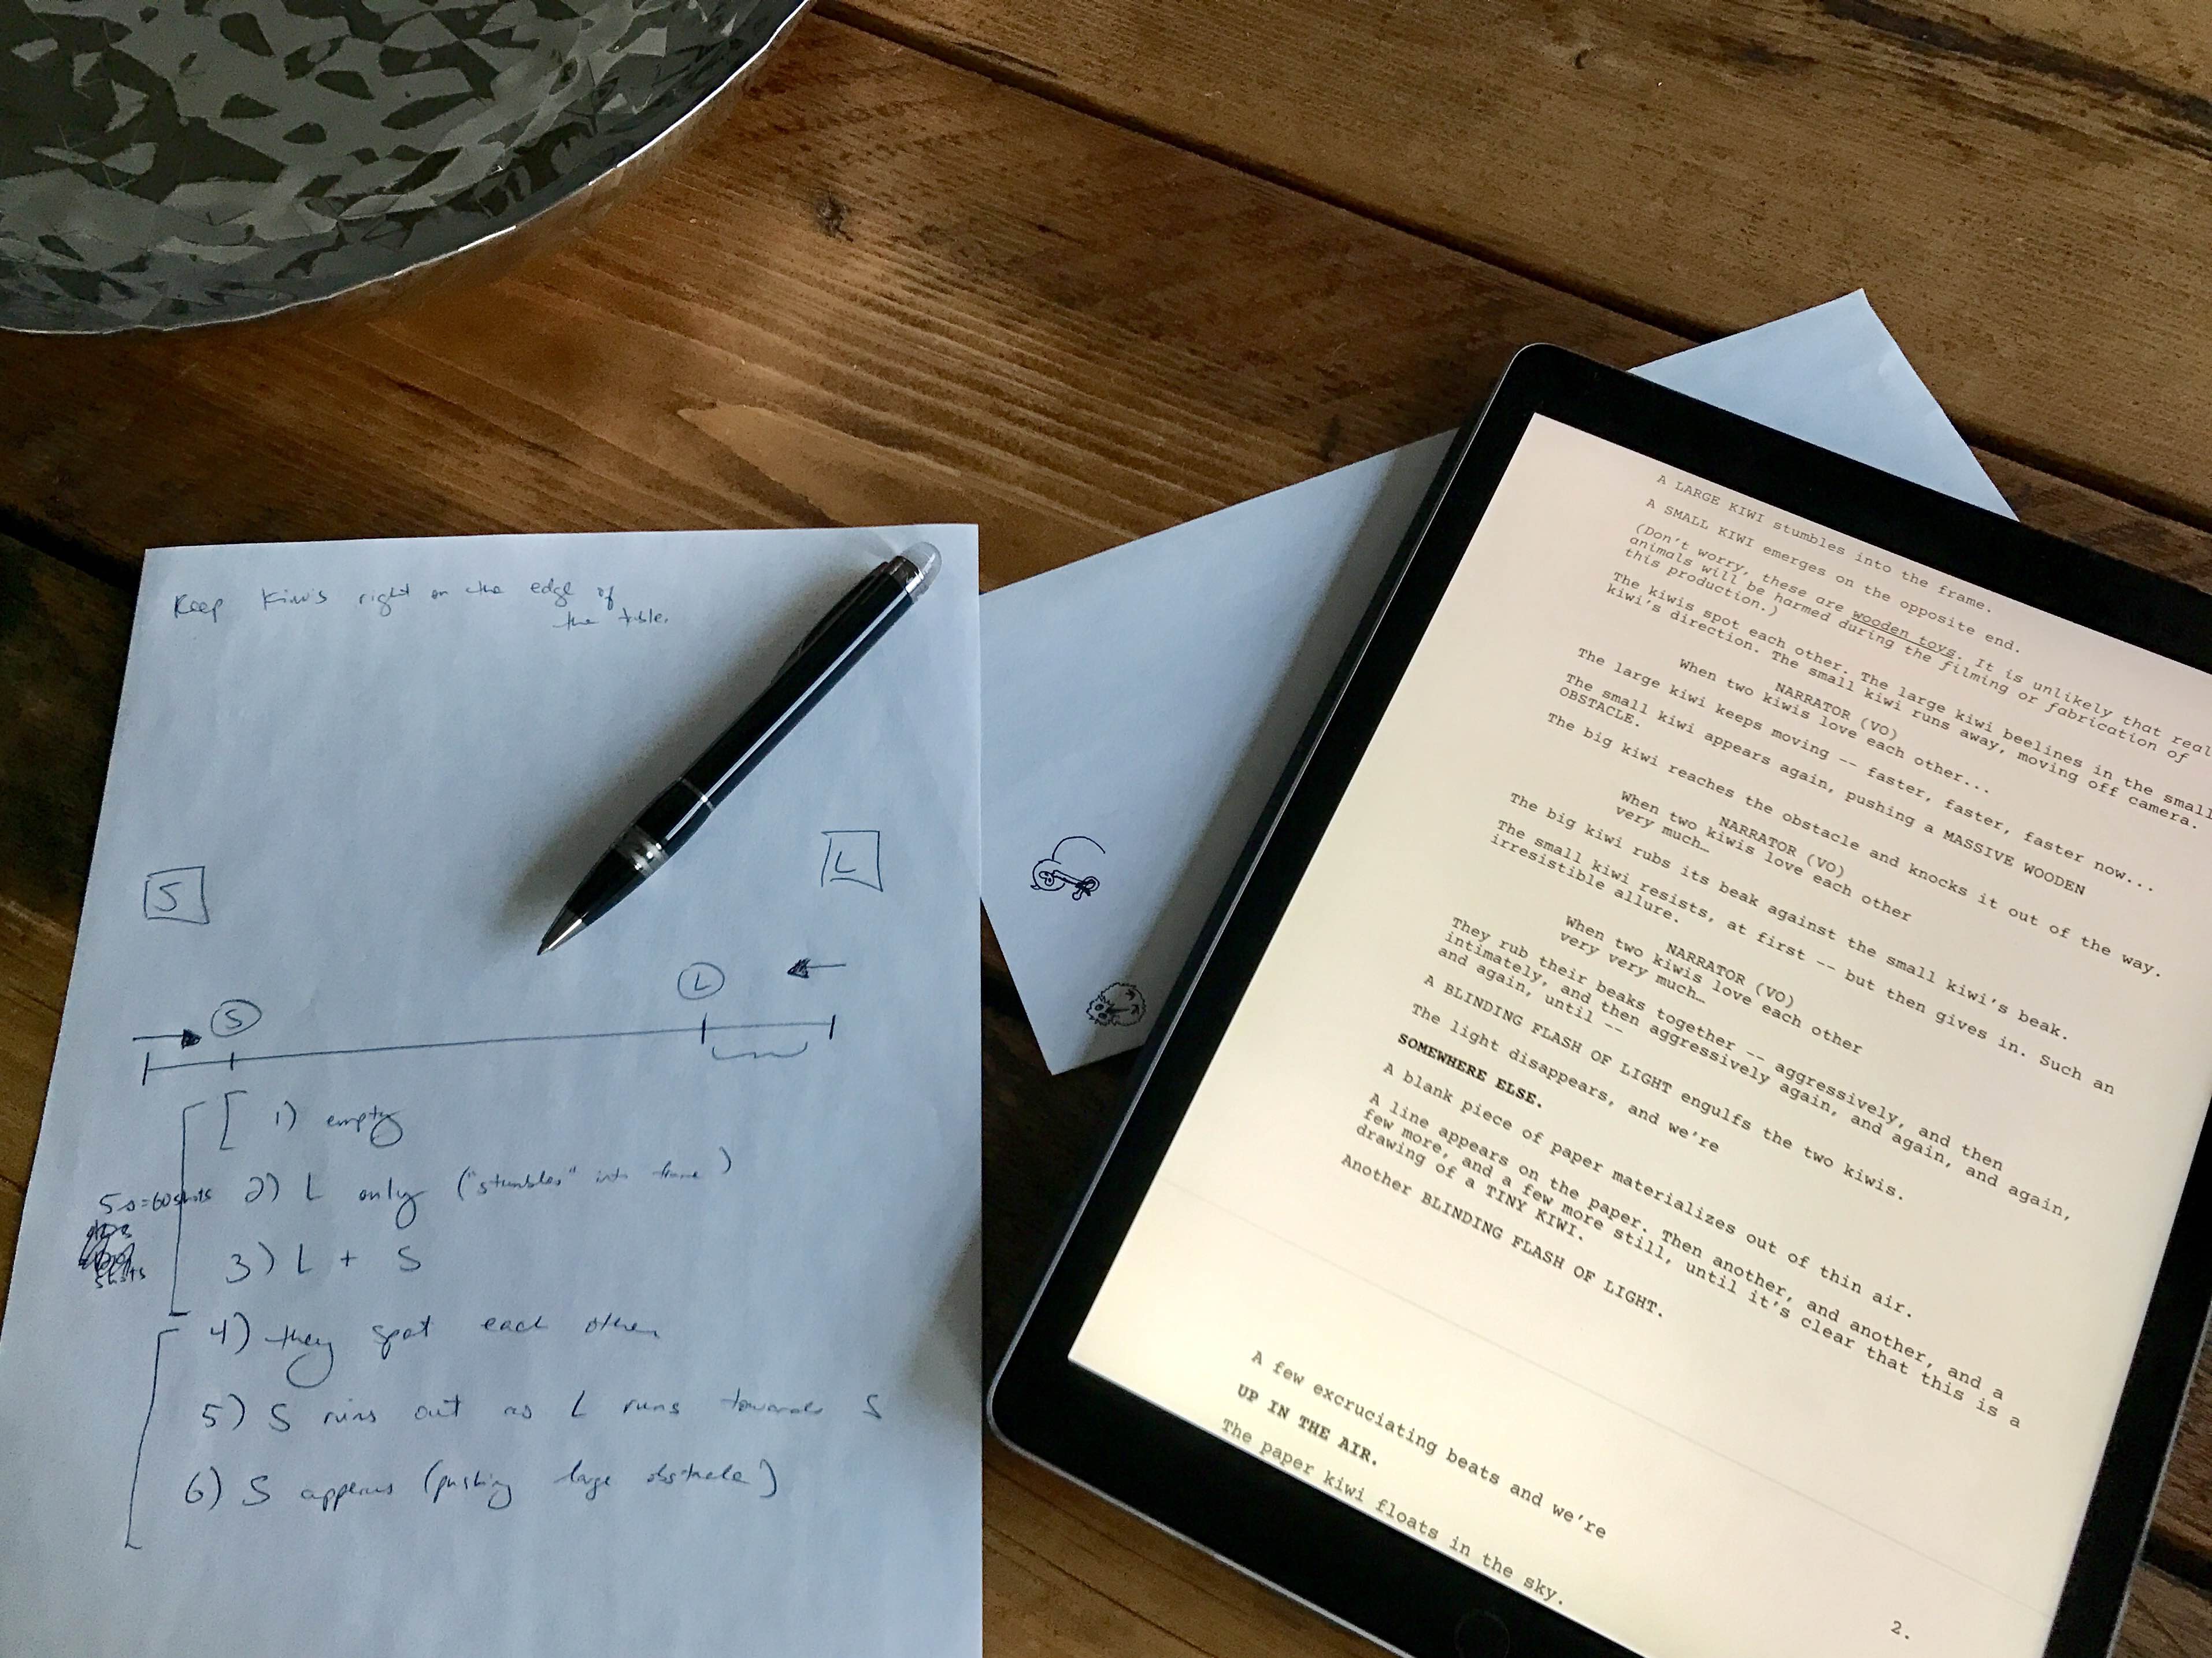
The script (more cheeky than precise) does differ from the final product. But it did provide enough of a foundation to work from:
Pre-Production
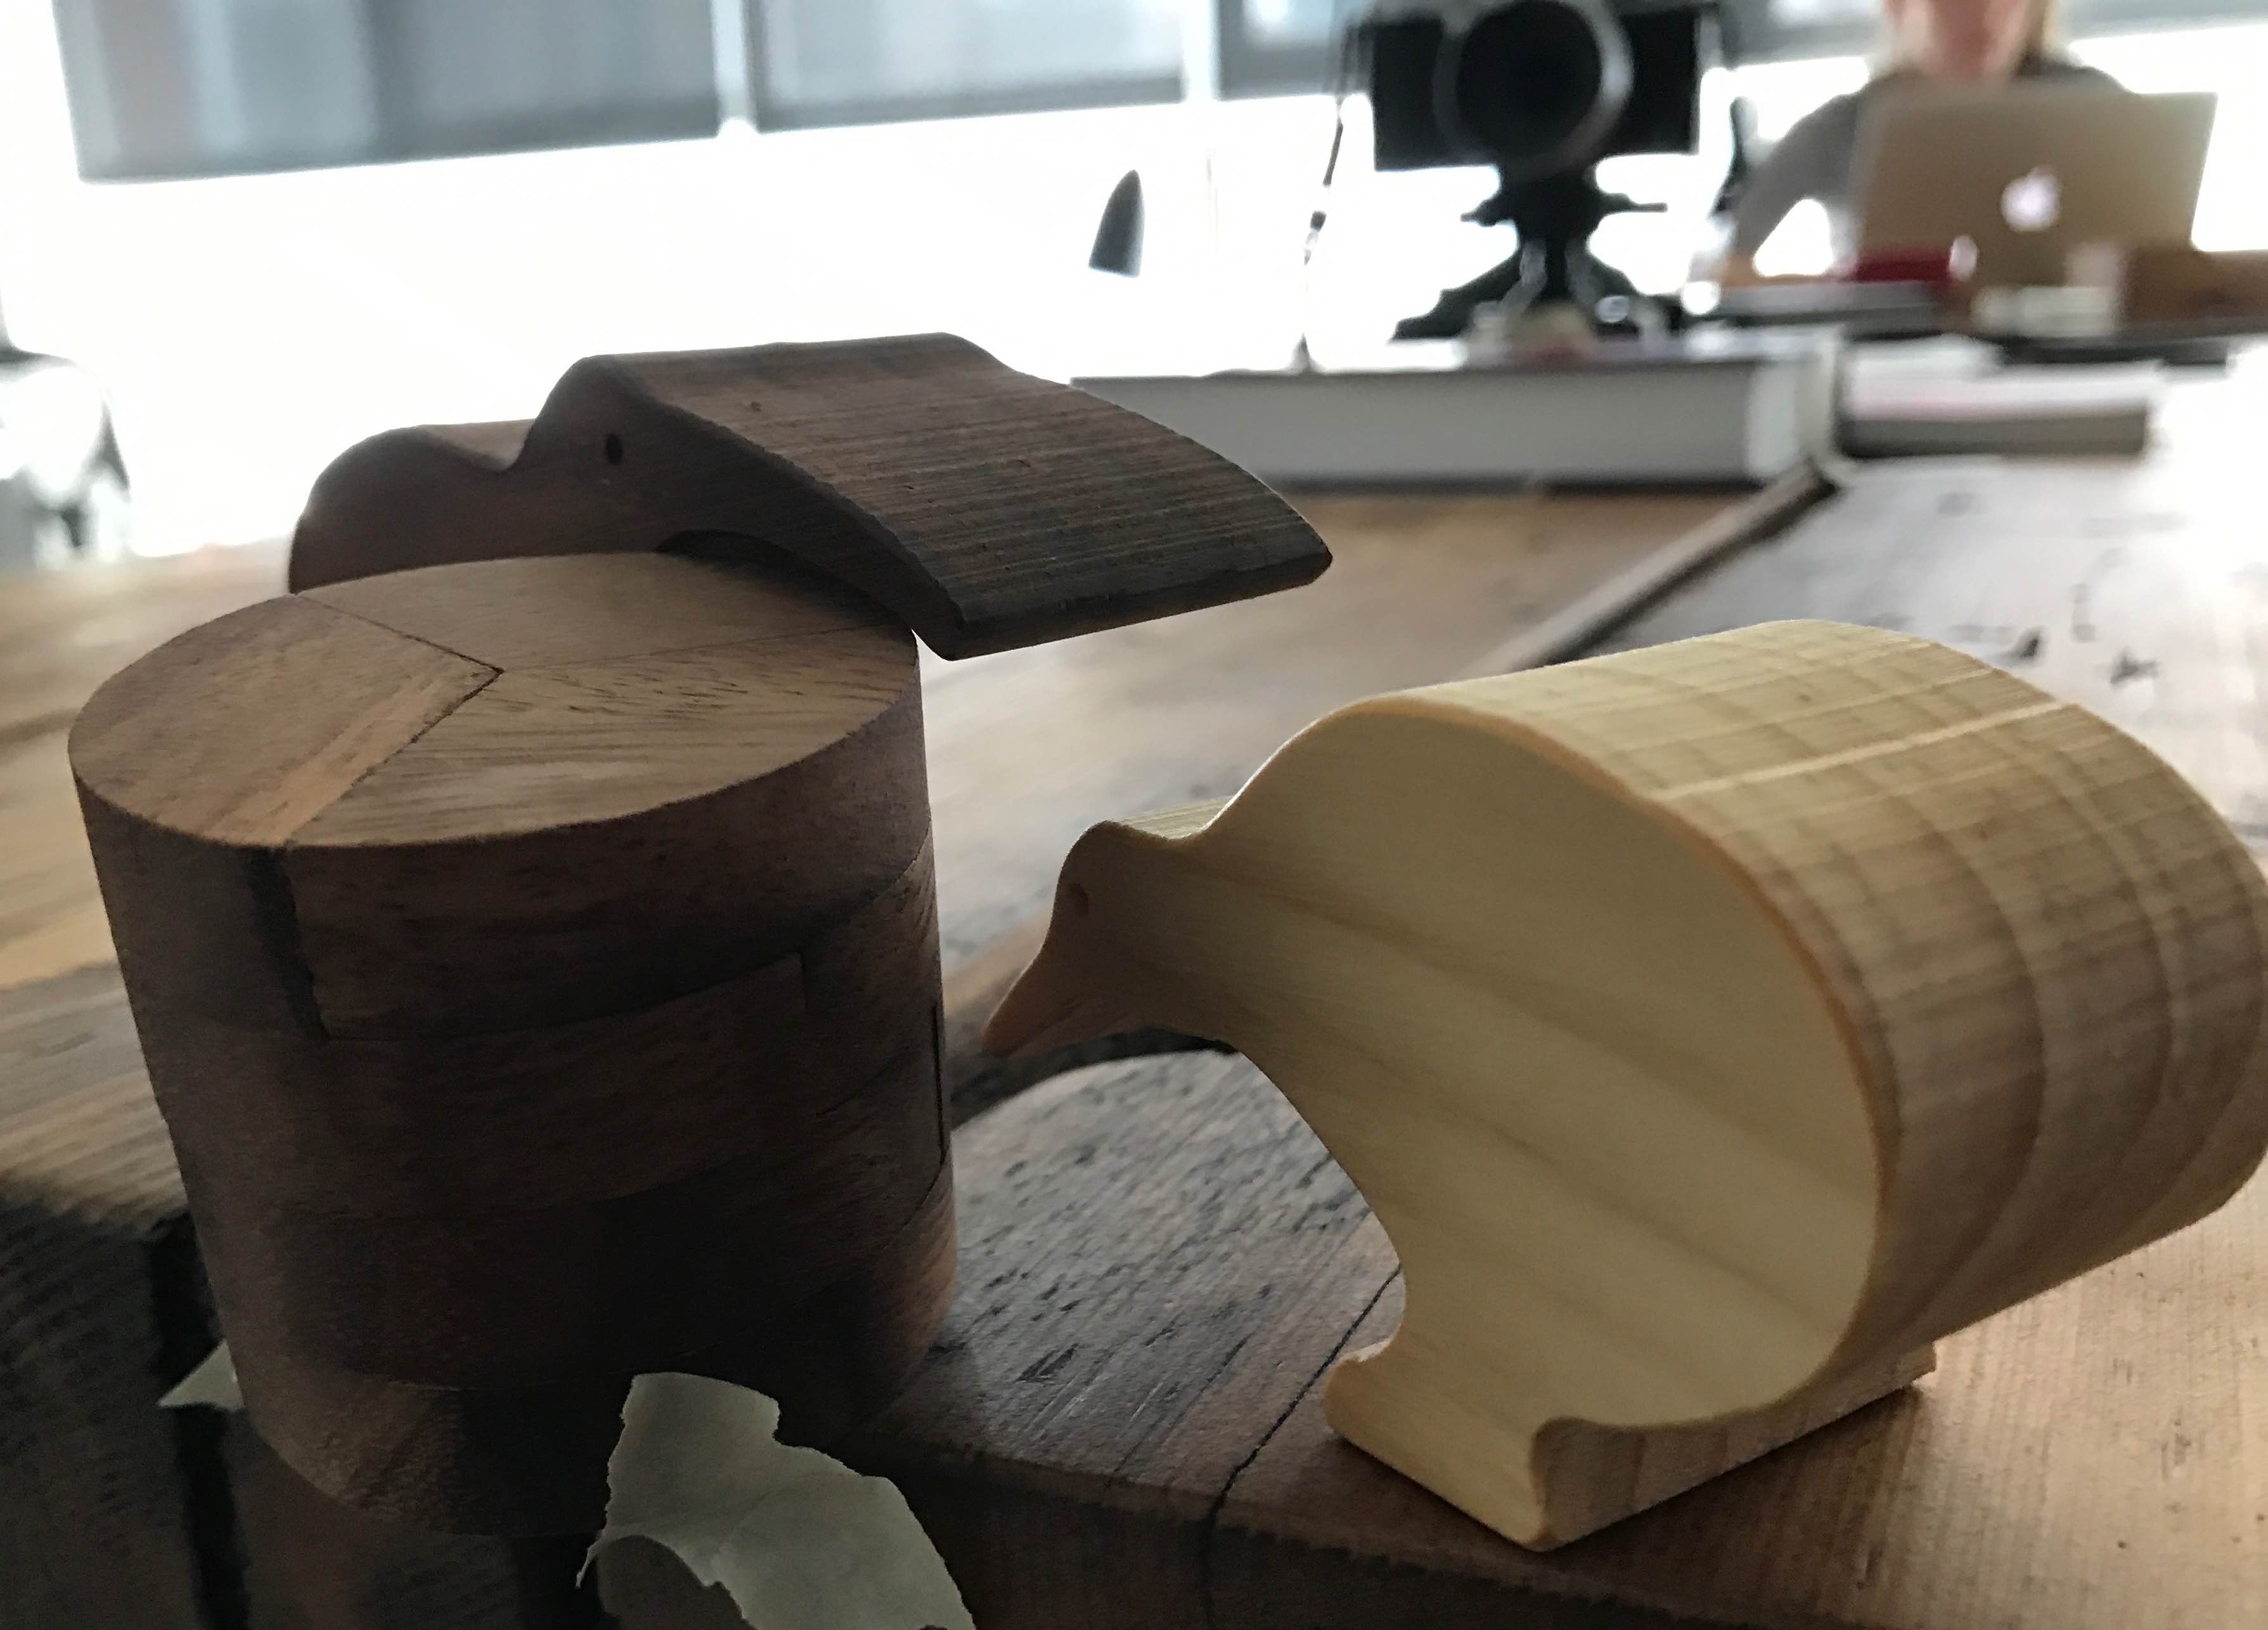
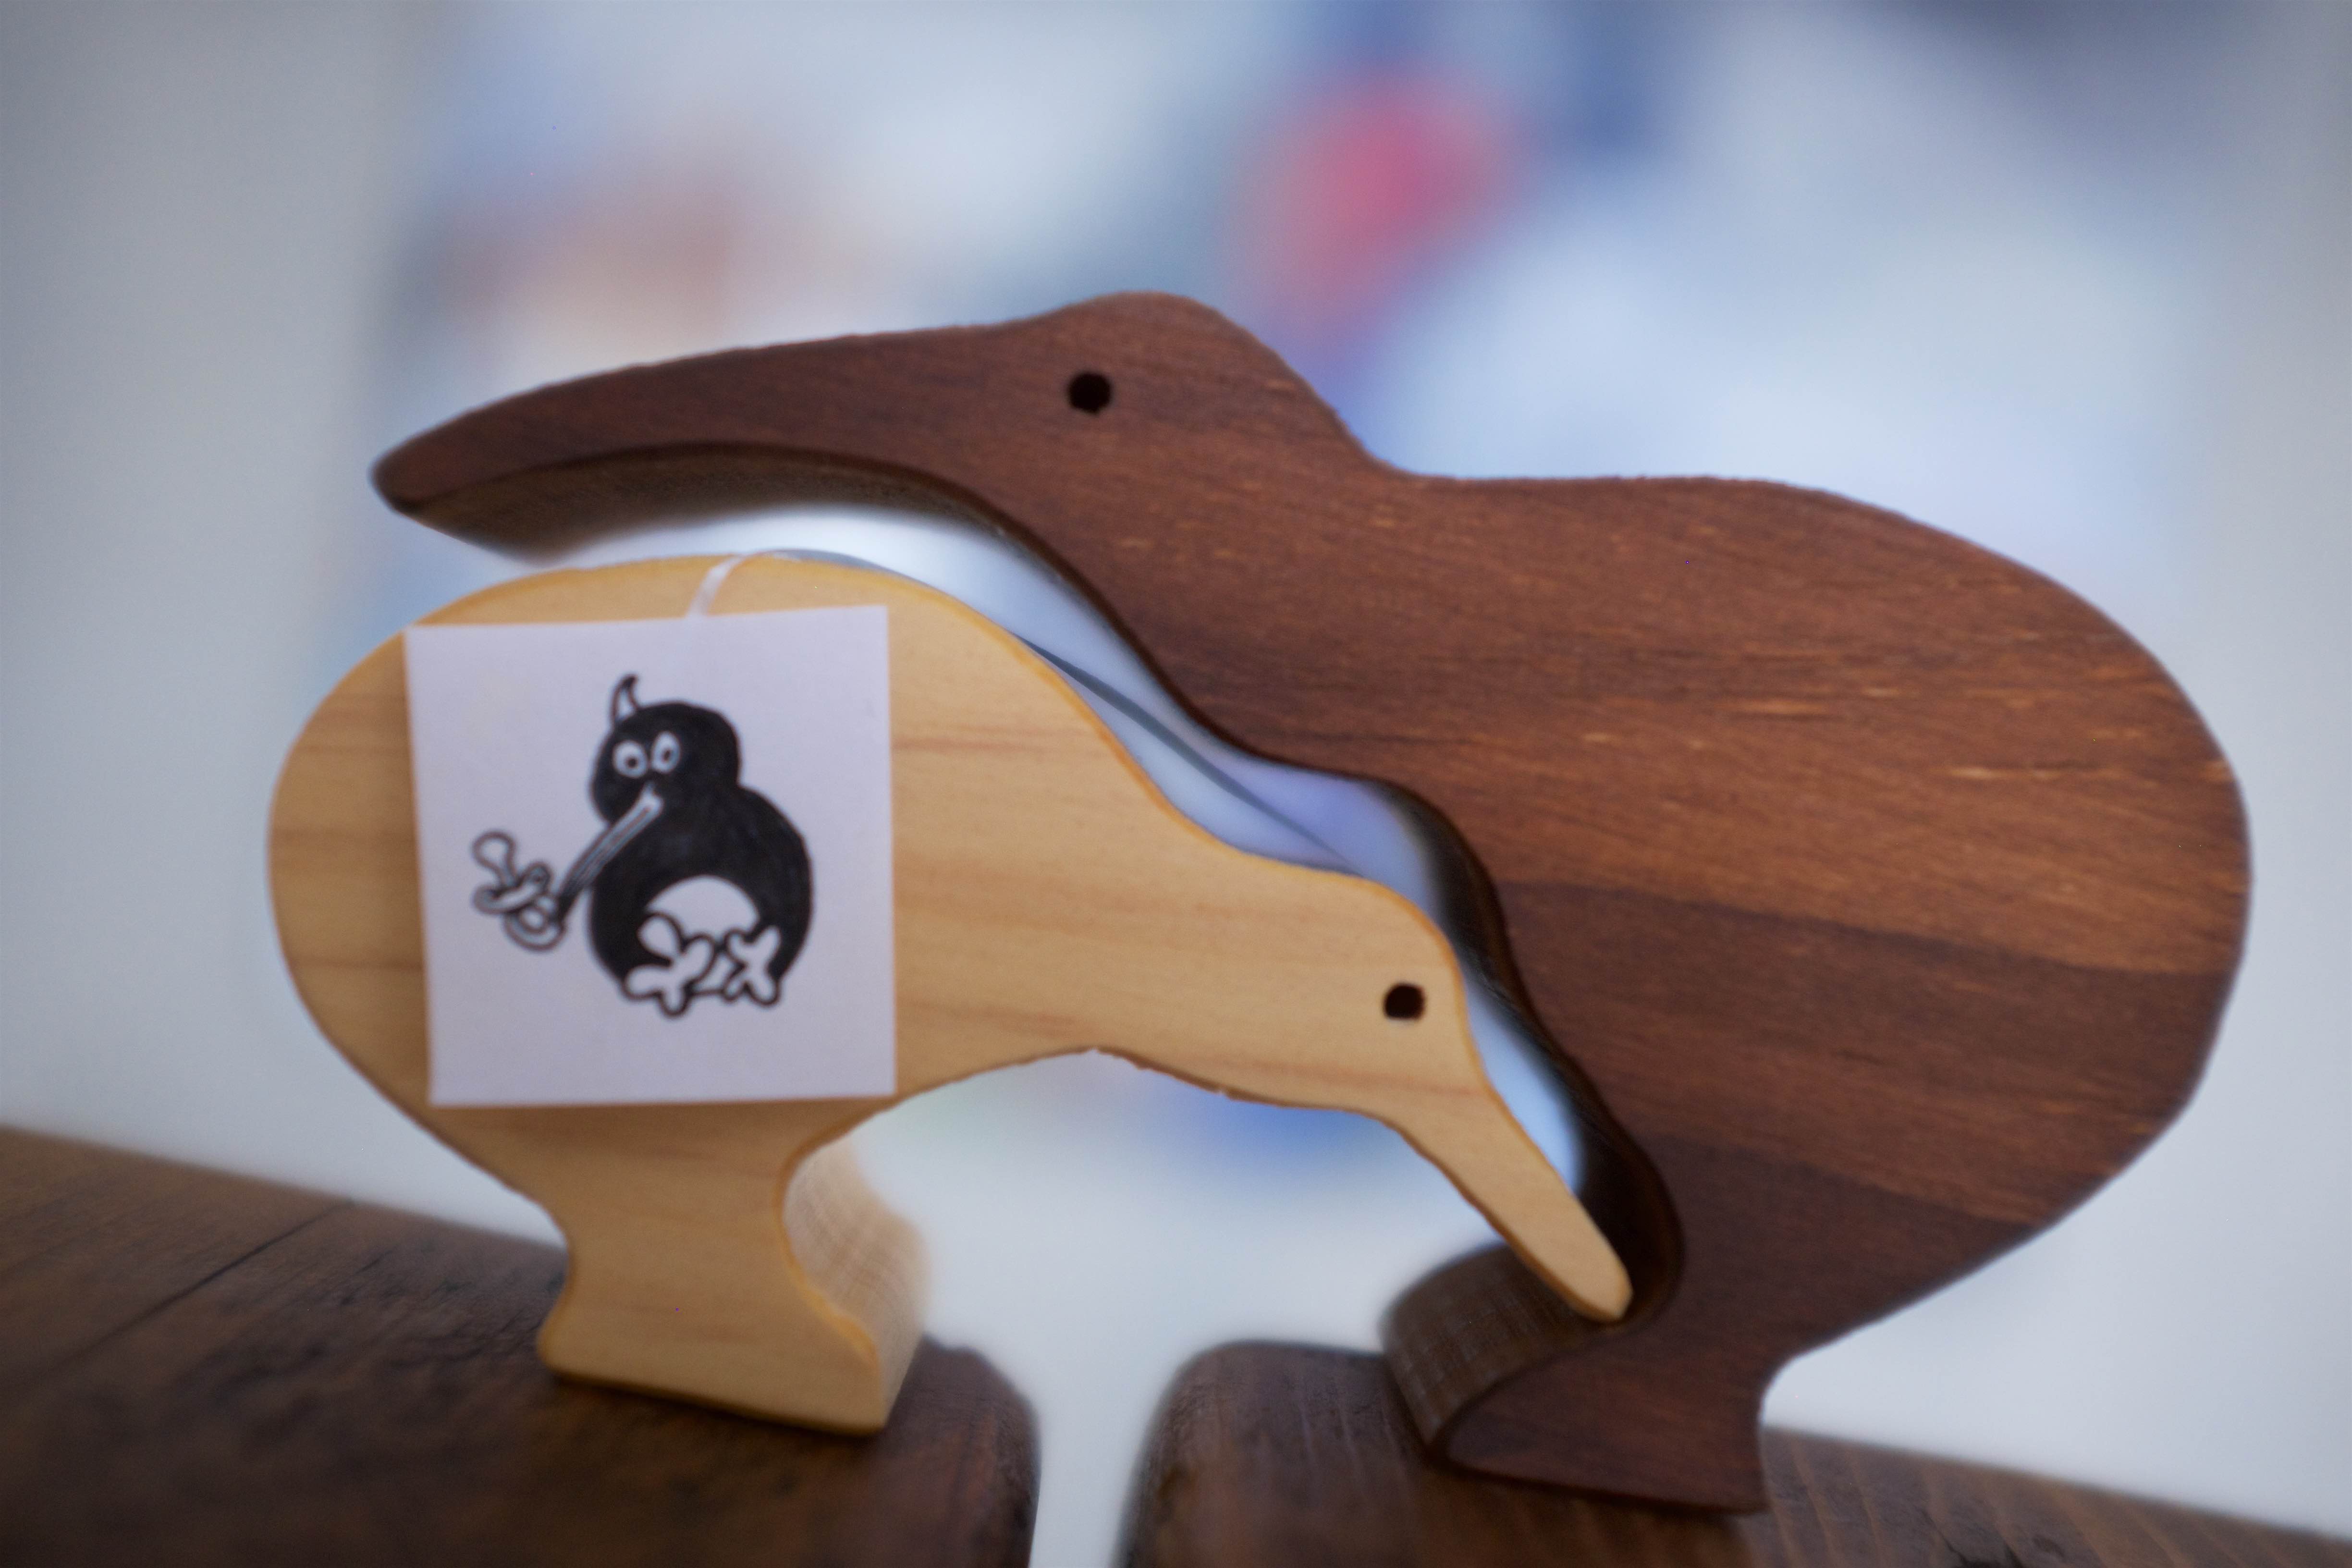
We interviewed a number of potential actors.
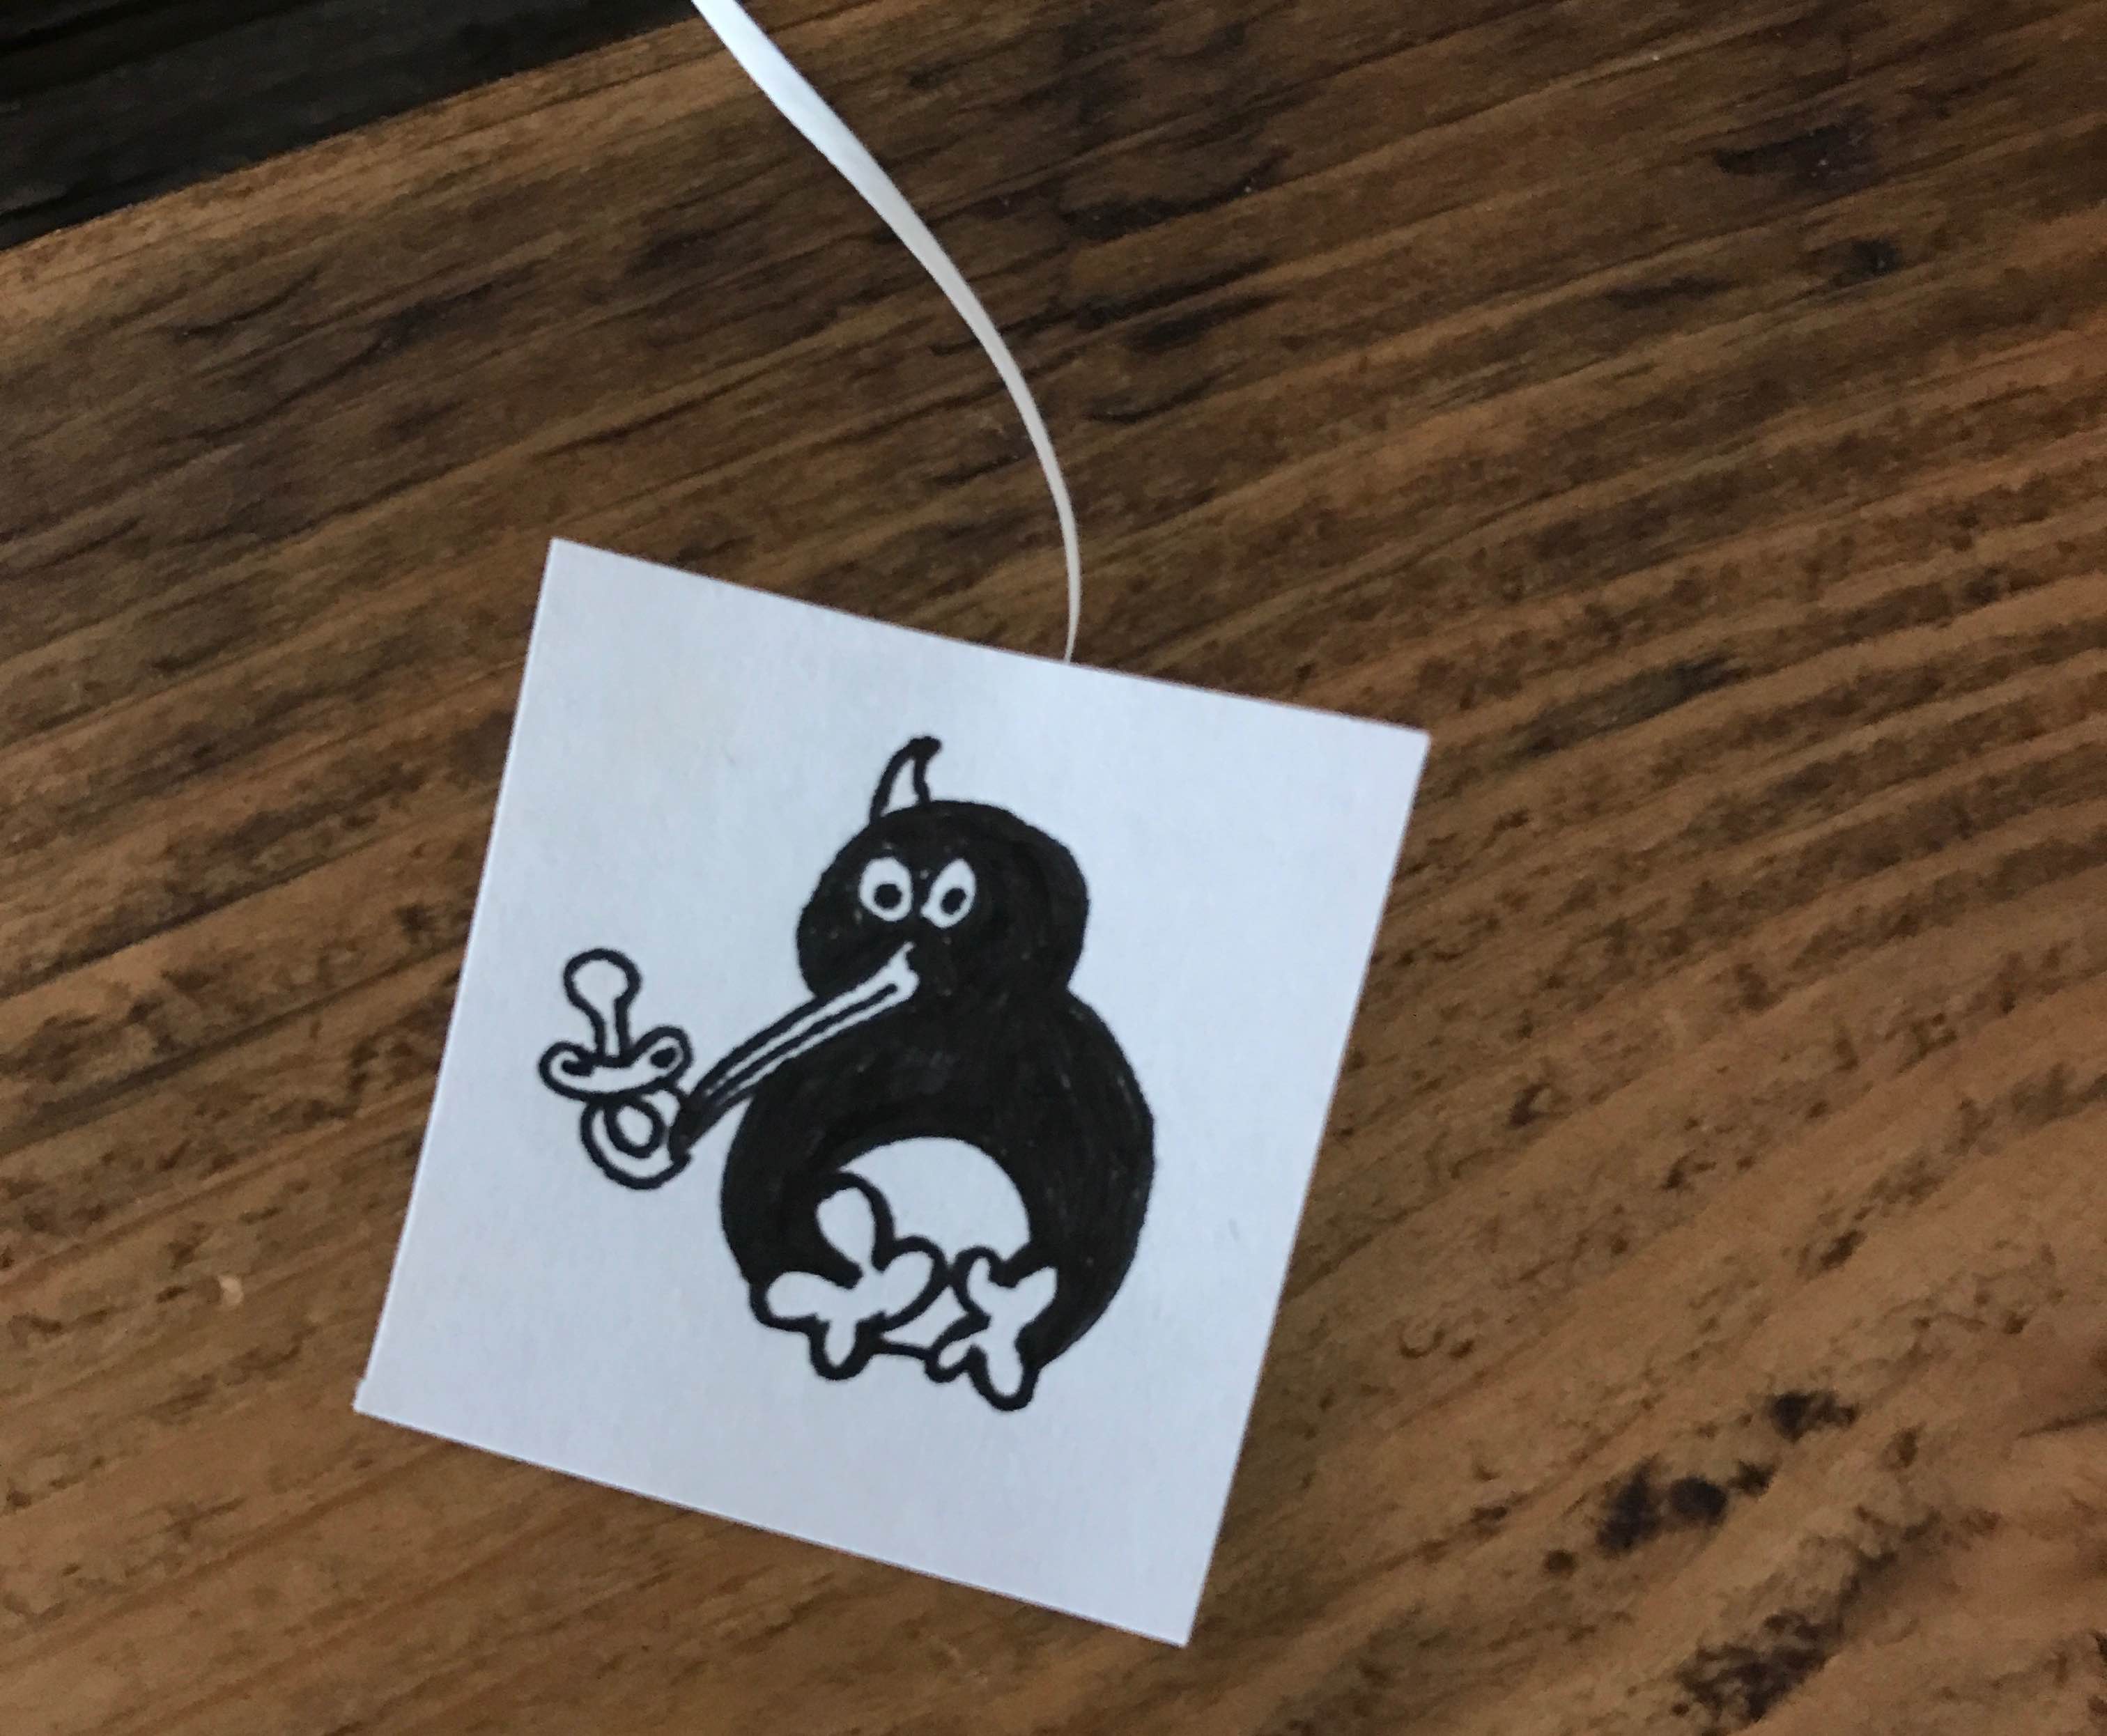
For example, here’s SMALL KIWI, acing the audition.
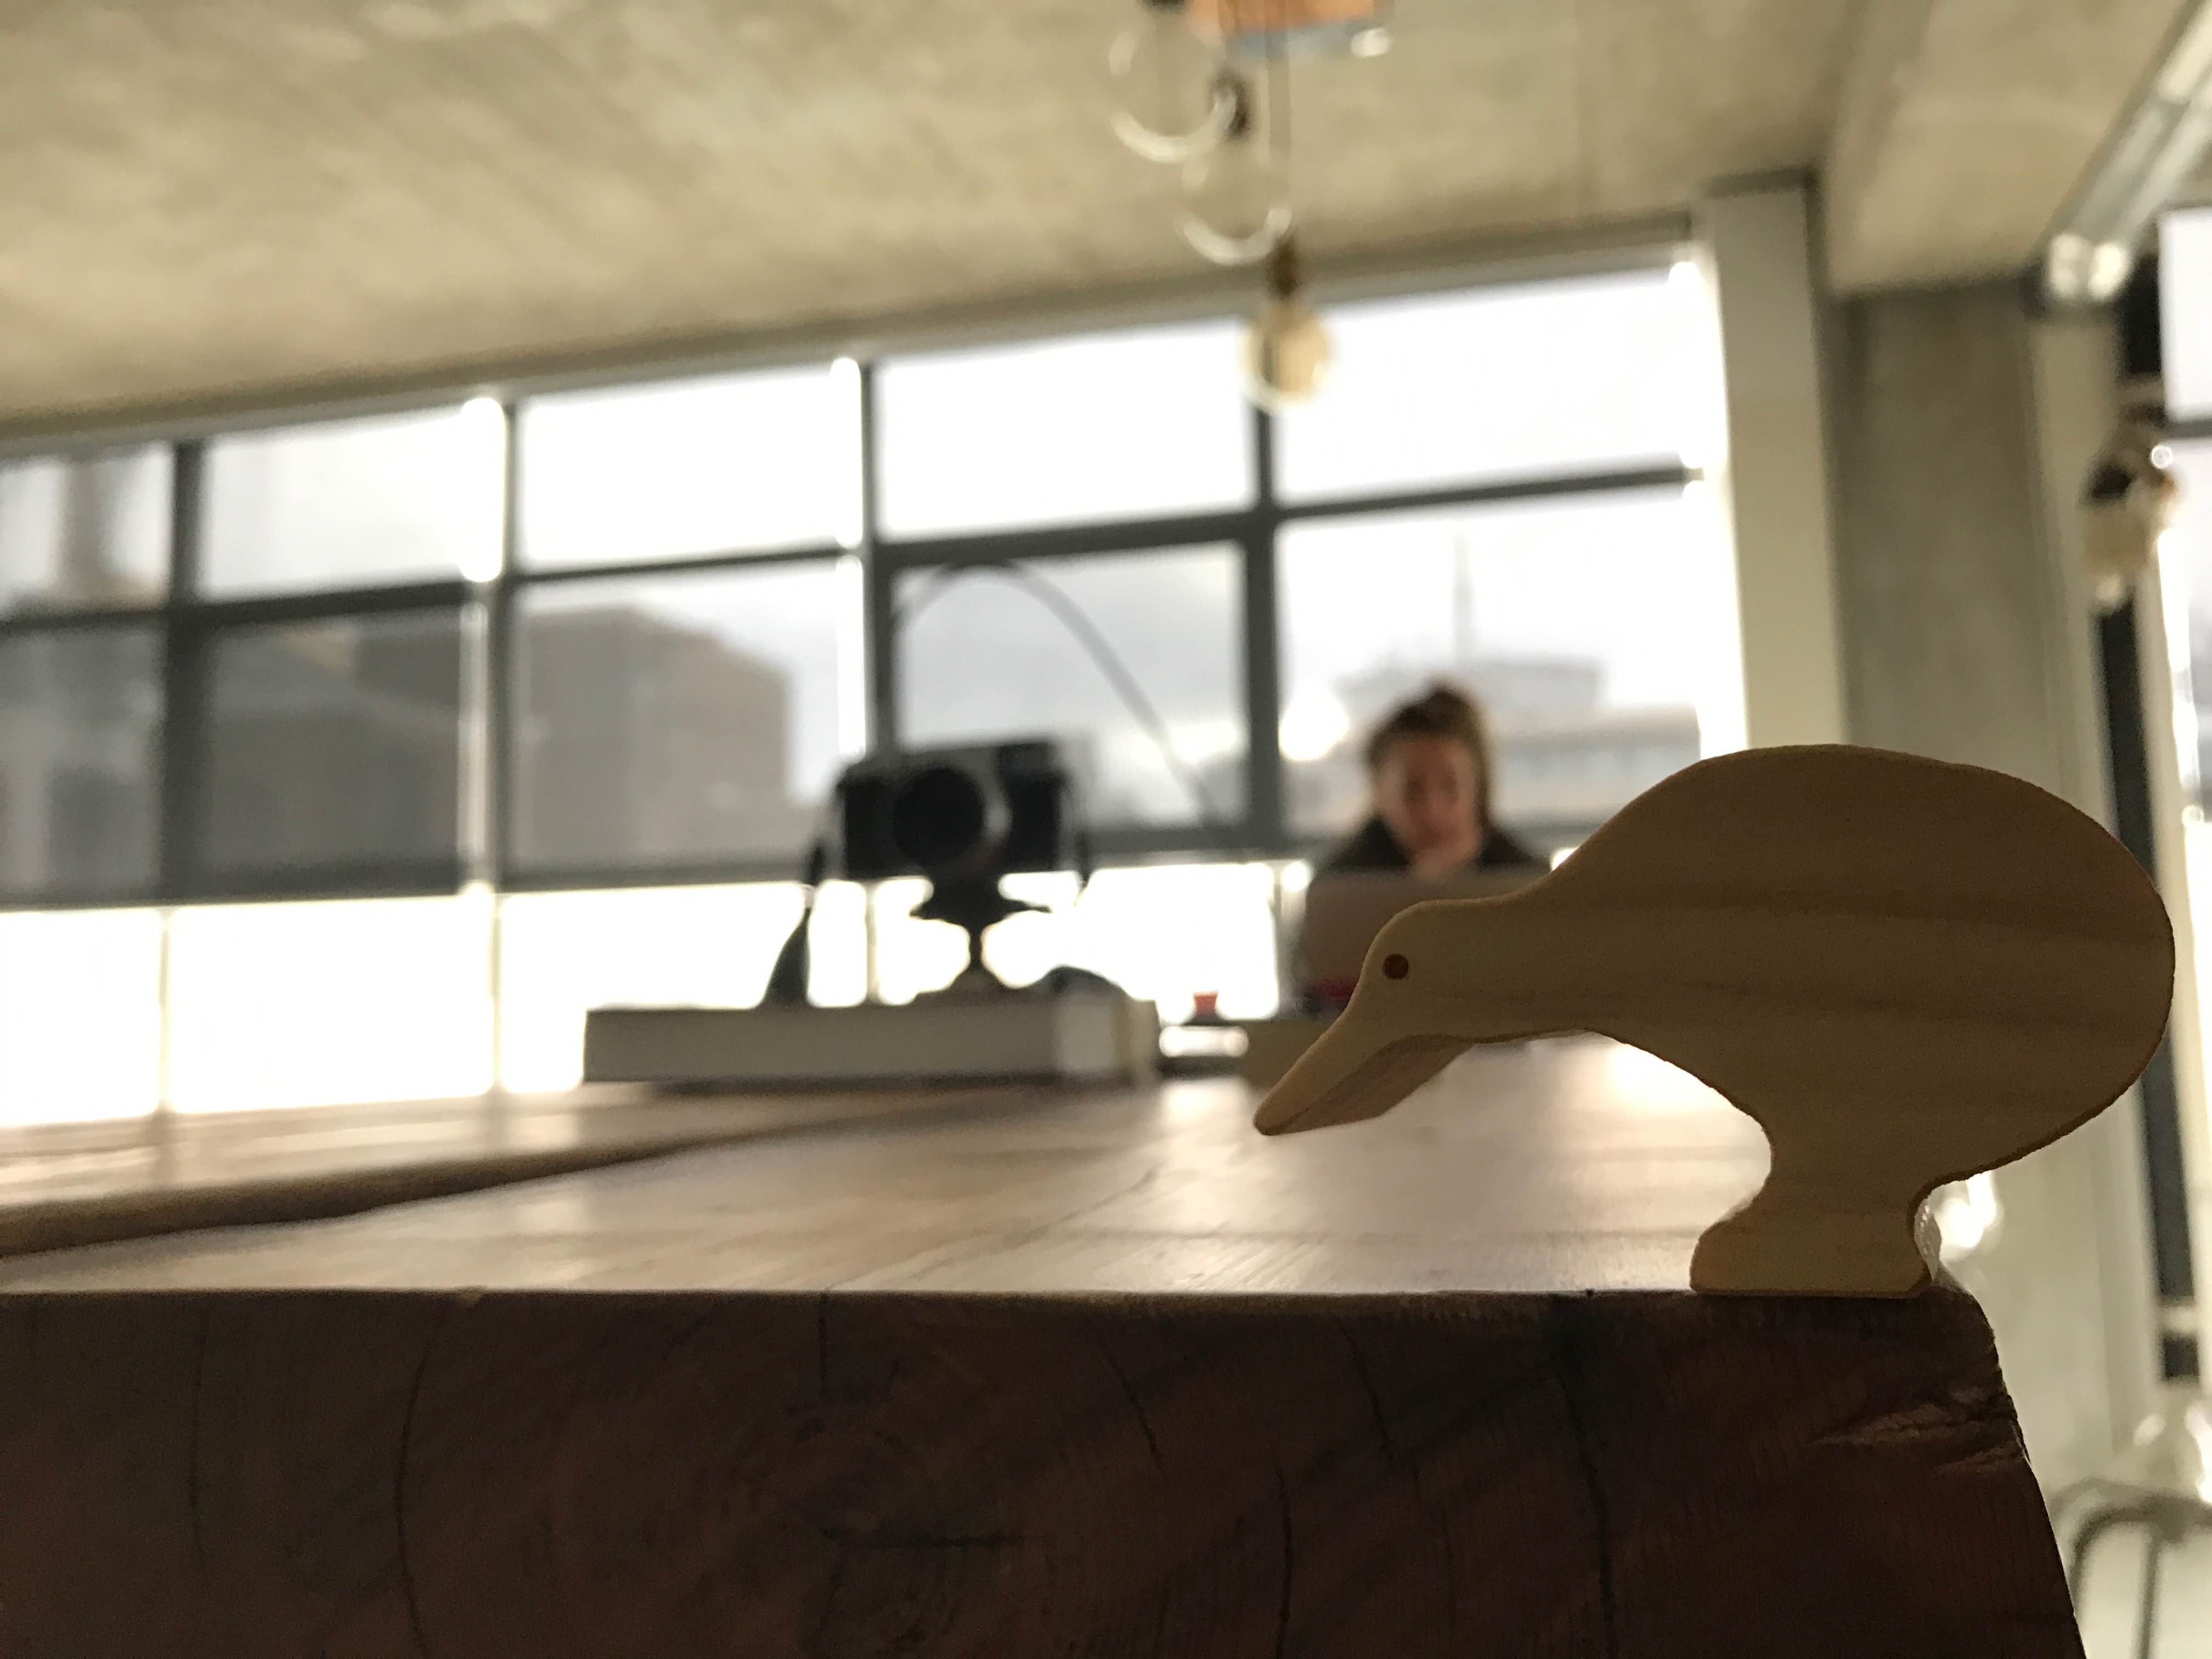
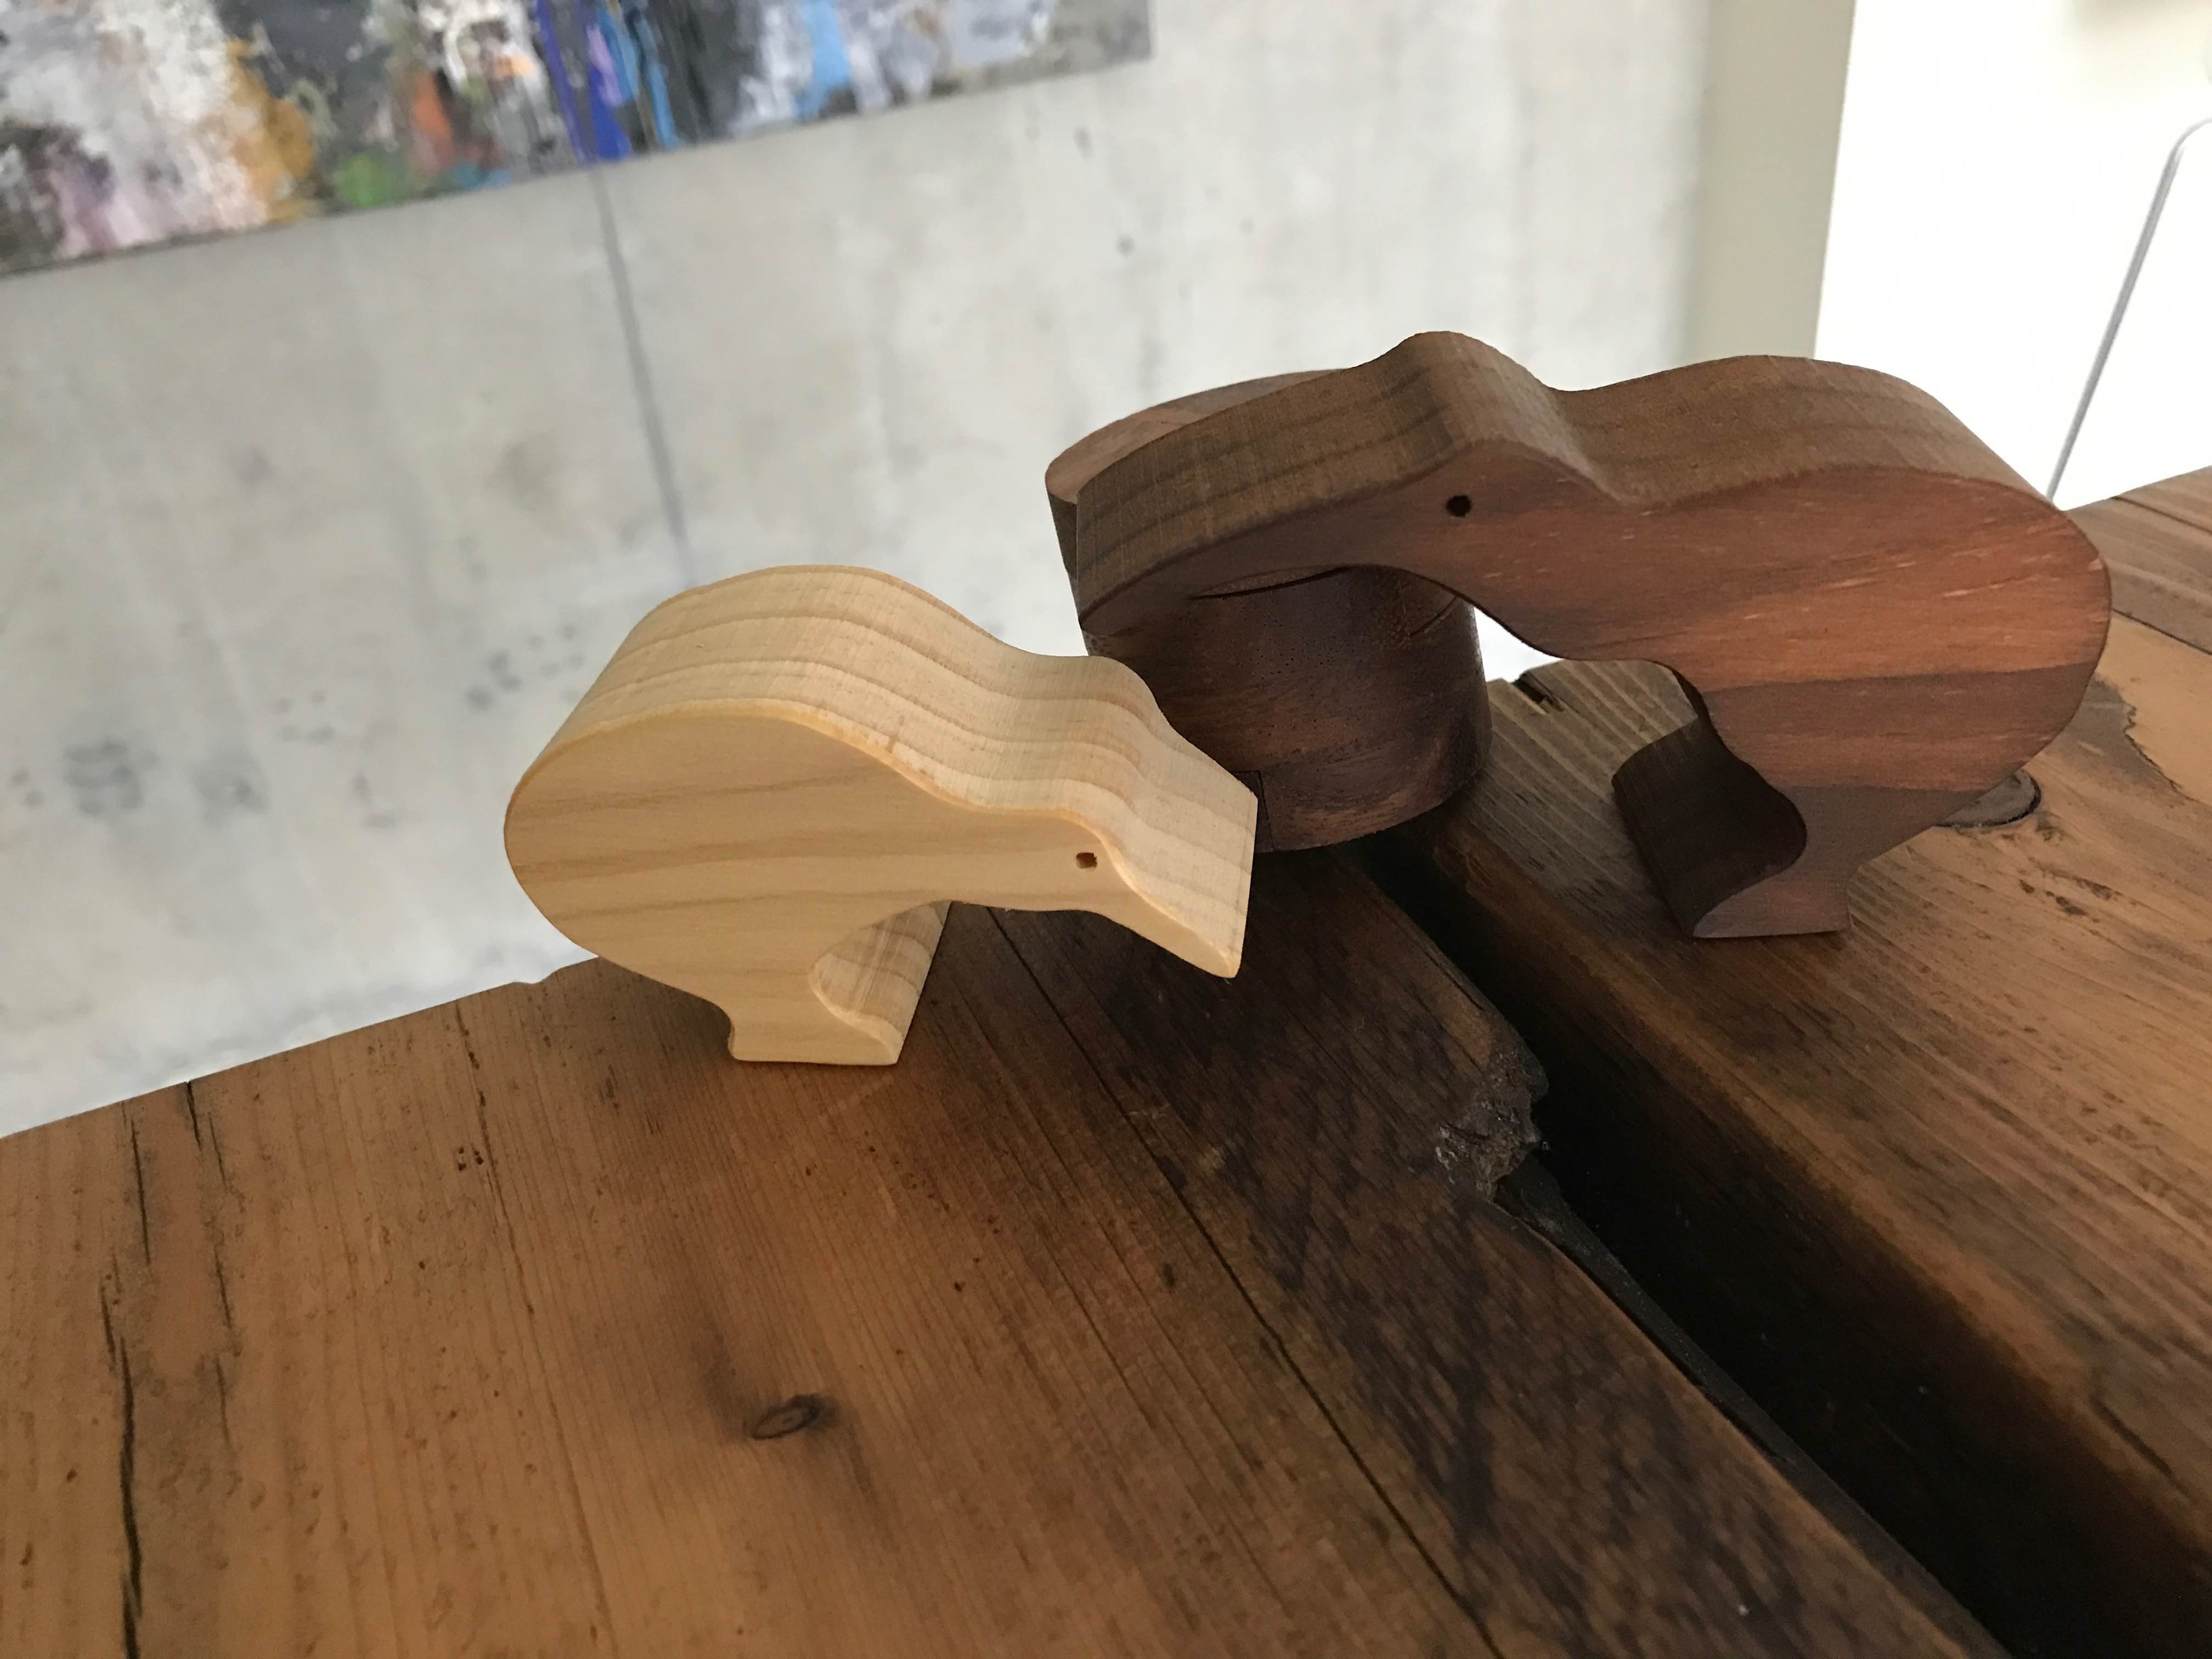
Isn’t it fabulous that the actors we hired have such incredible chemistry together?
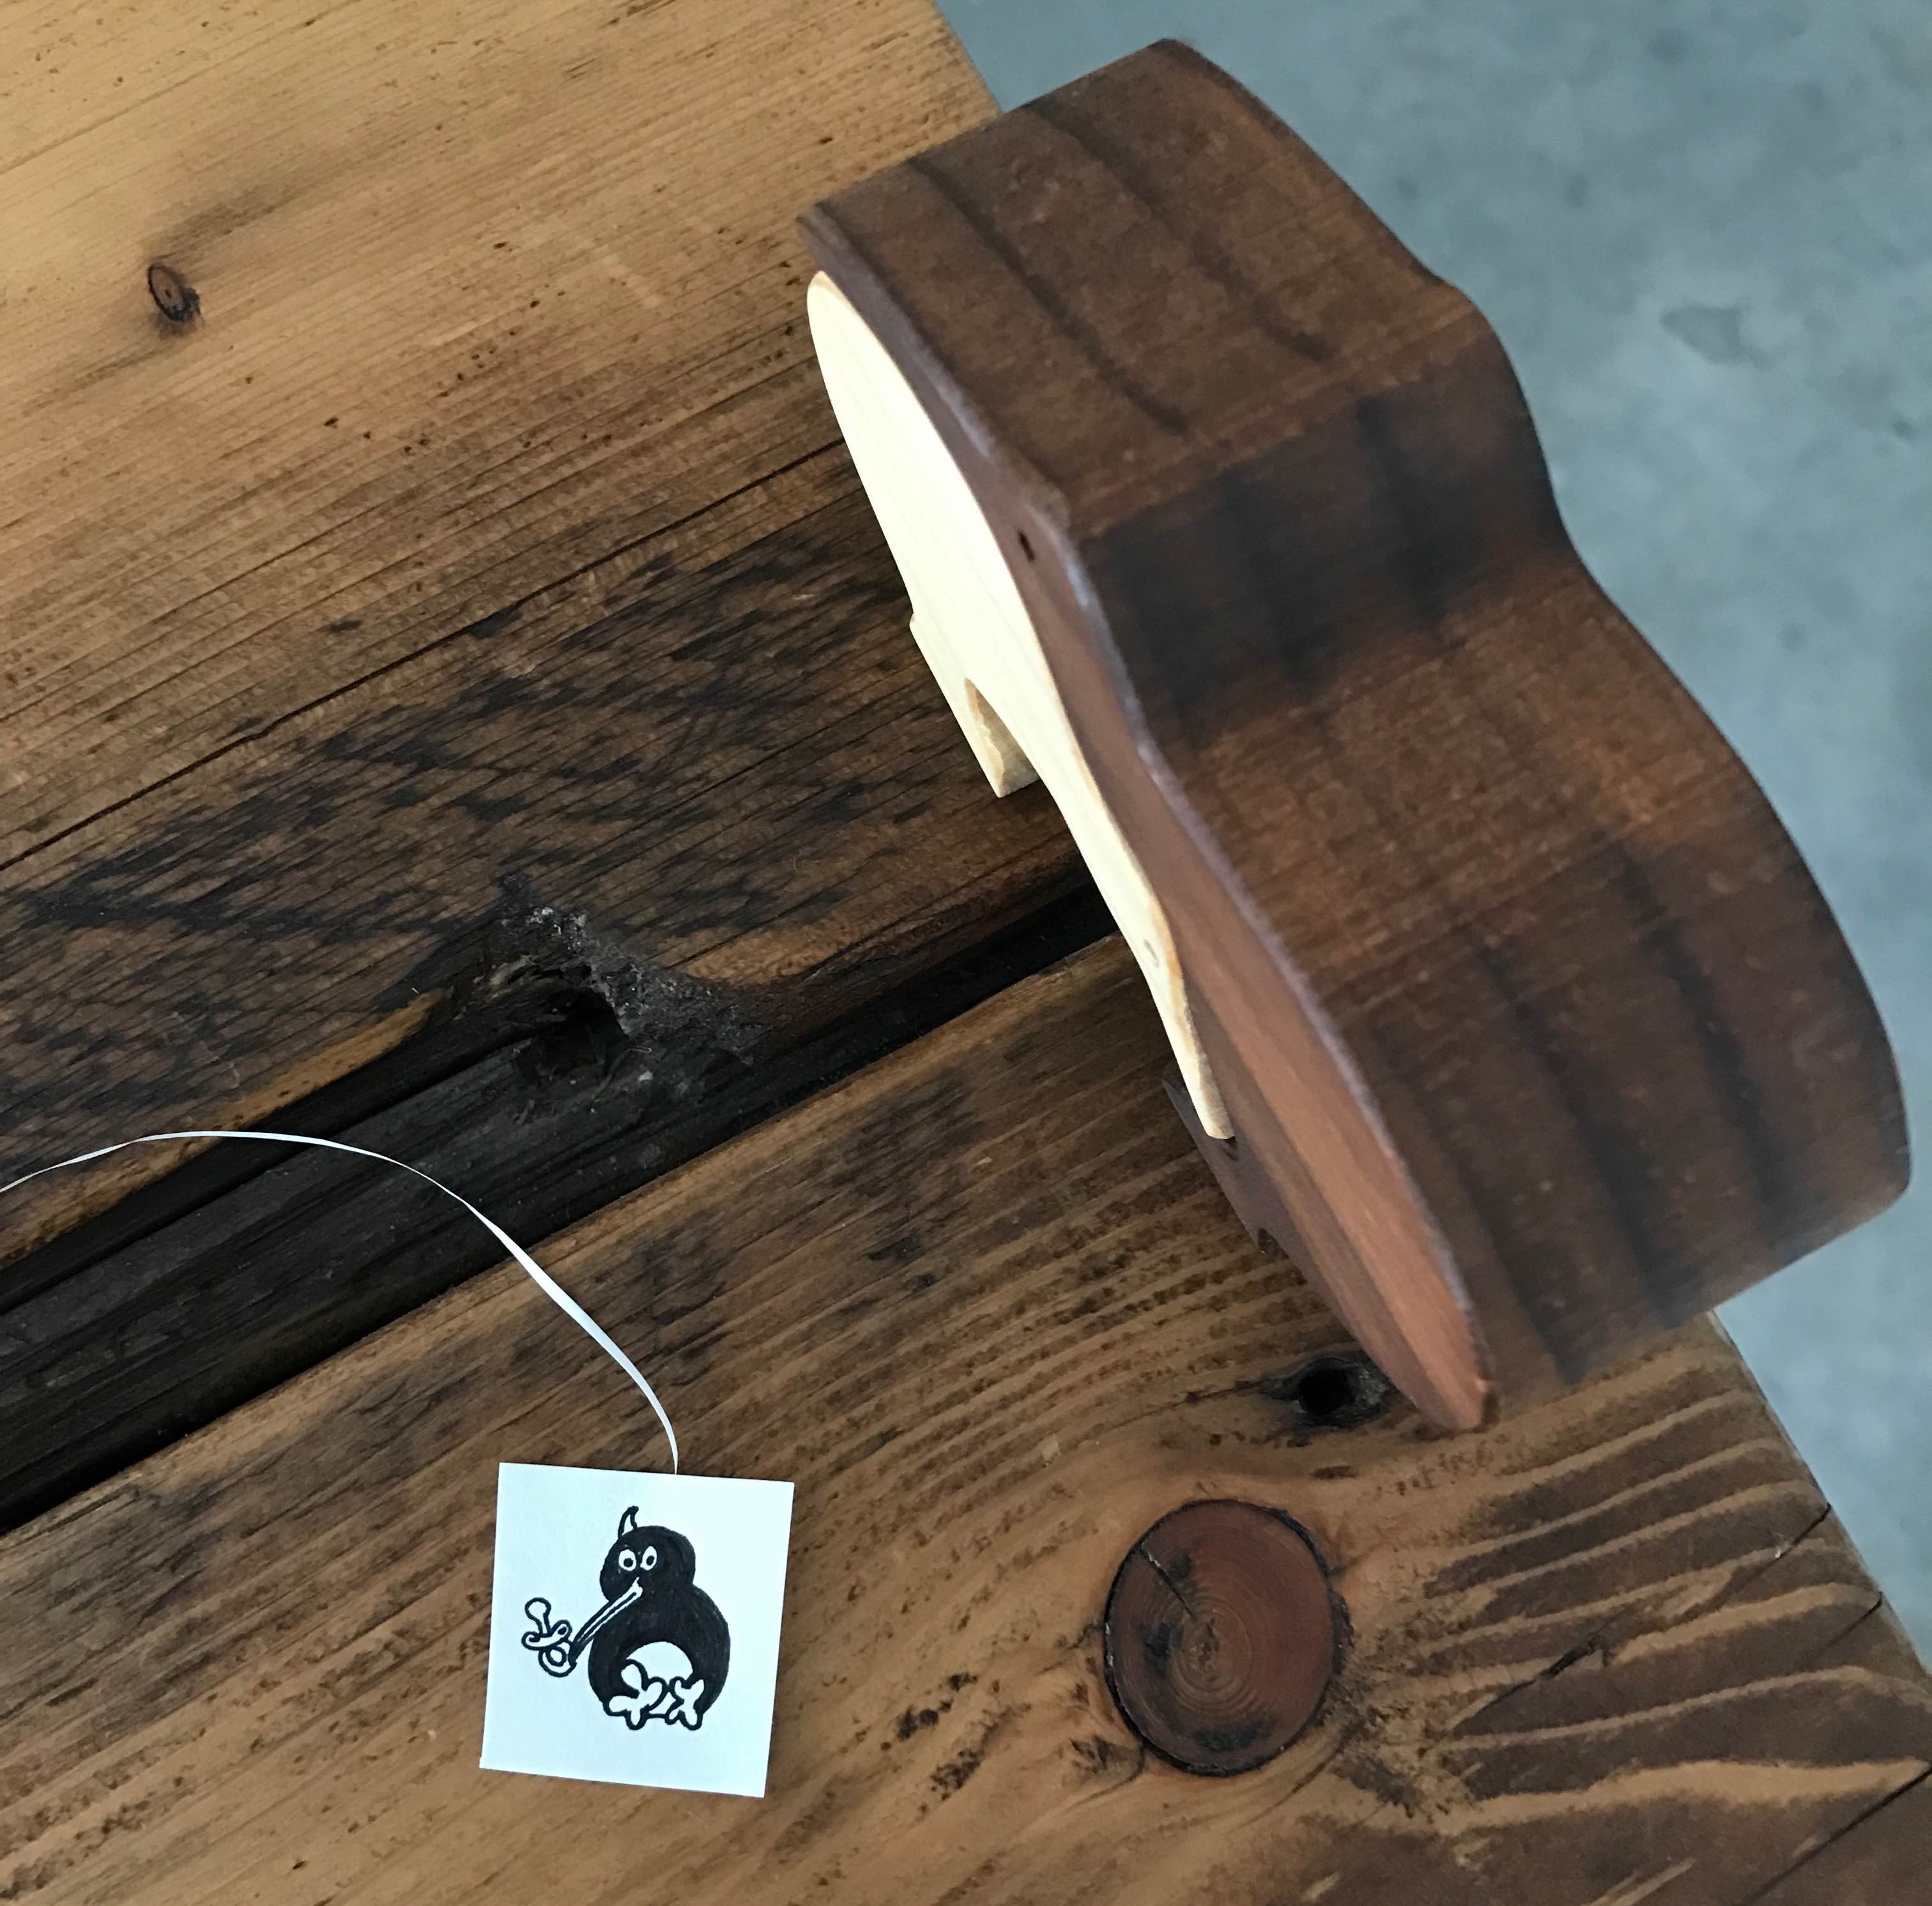
And they have super powers, too. Here, their remarkable force of attraction is preventing MASSIVE WOODEN OBSTACLE from succumbing to pesky gravity.
Yes, this power is even more impressive when viewed from above.
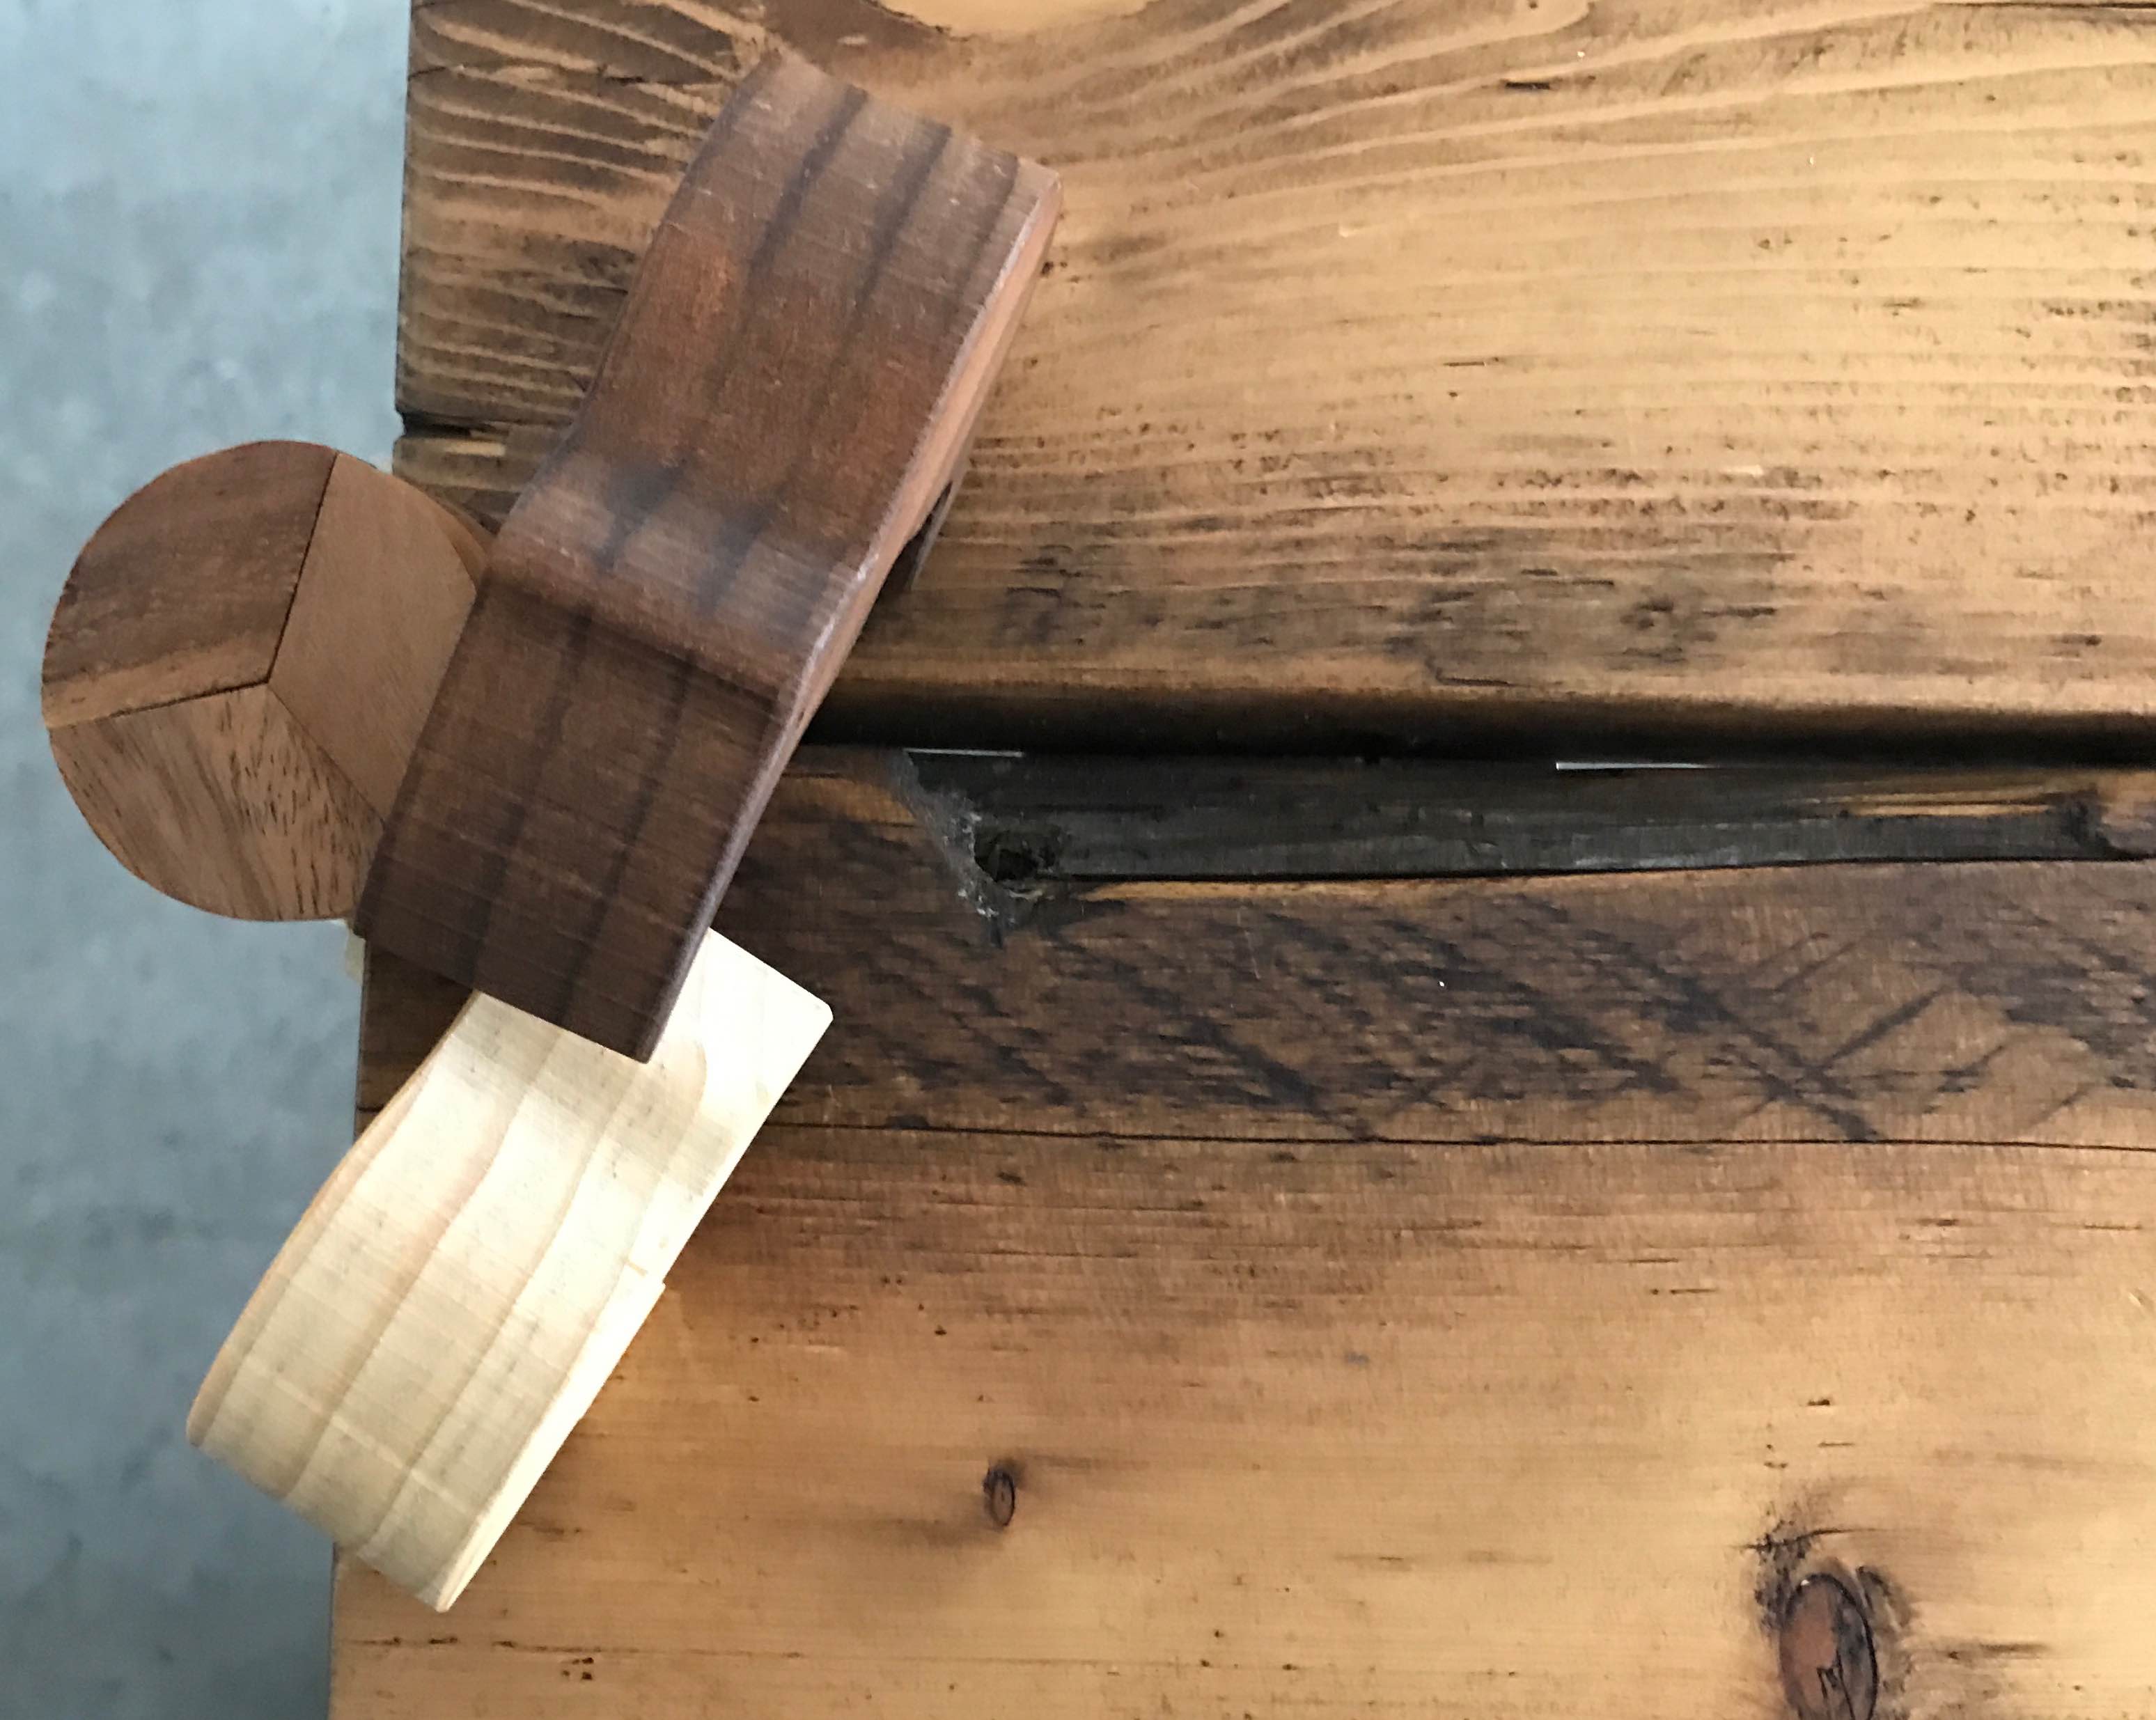
(OK, it’s just tape.2)
At a frame rate of 24 frames per second, displaying one photo per frame, and with a target run-time of roughly one minute, I’d need to take 1,440 photos.
That’s a lot of shots.3
The next order of business was breaking the script down into segments — and plannng out just how incredibly small the movement increments needed to be between frames.
Production
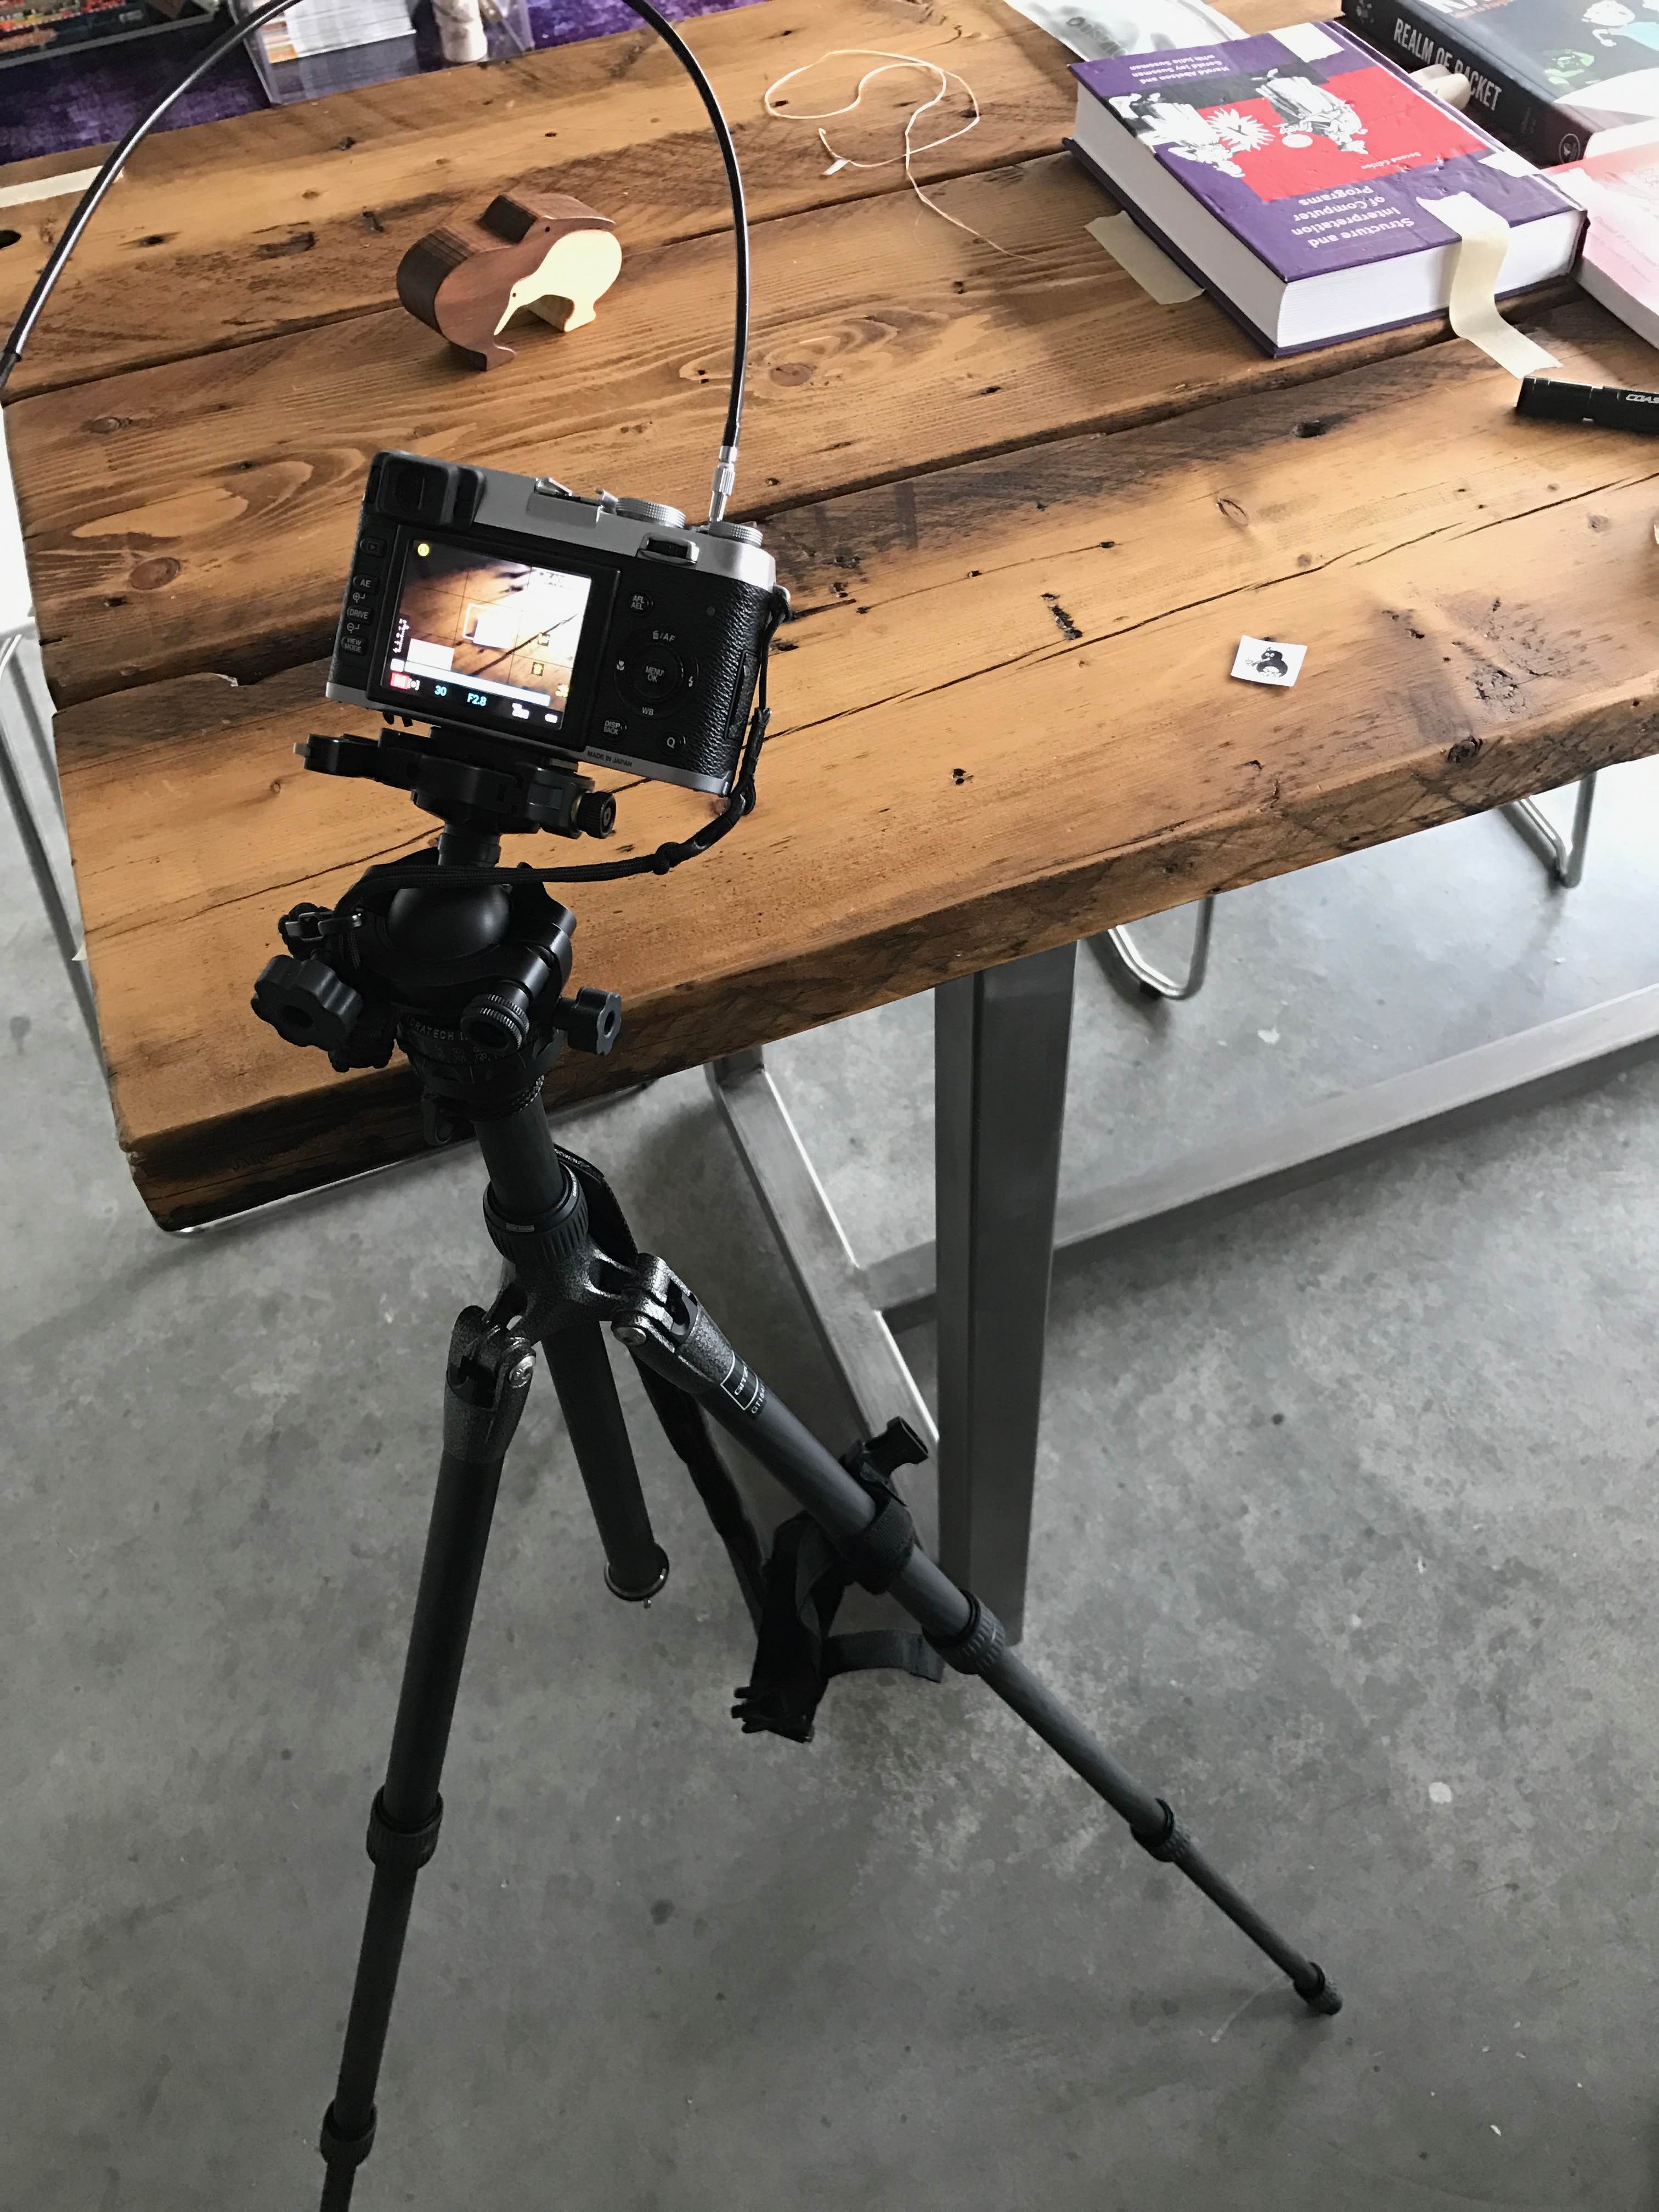
Shot on the venerable Fujifilm X100S.4
Production Mistake #1: “Fabricating” a tripod using a ball head, a few books, and some masking tape…
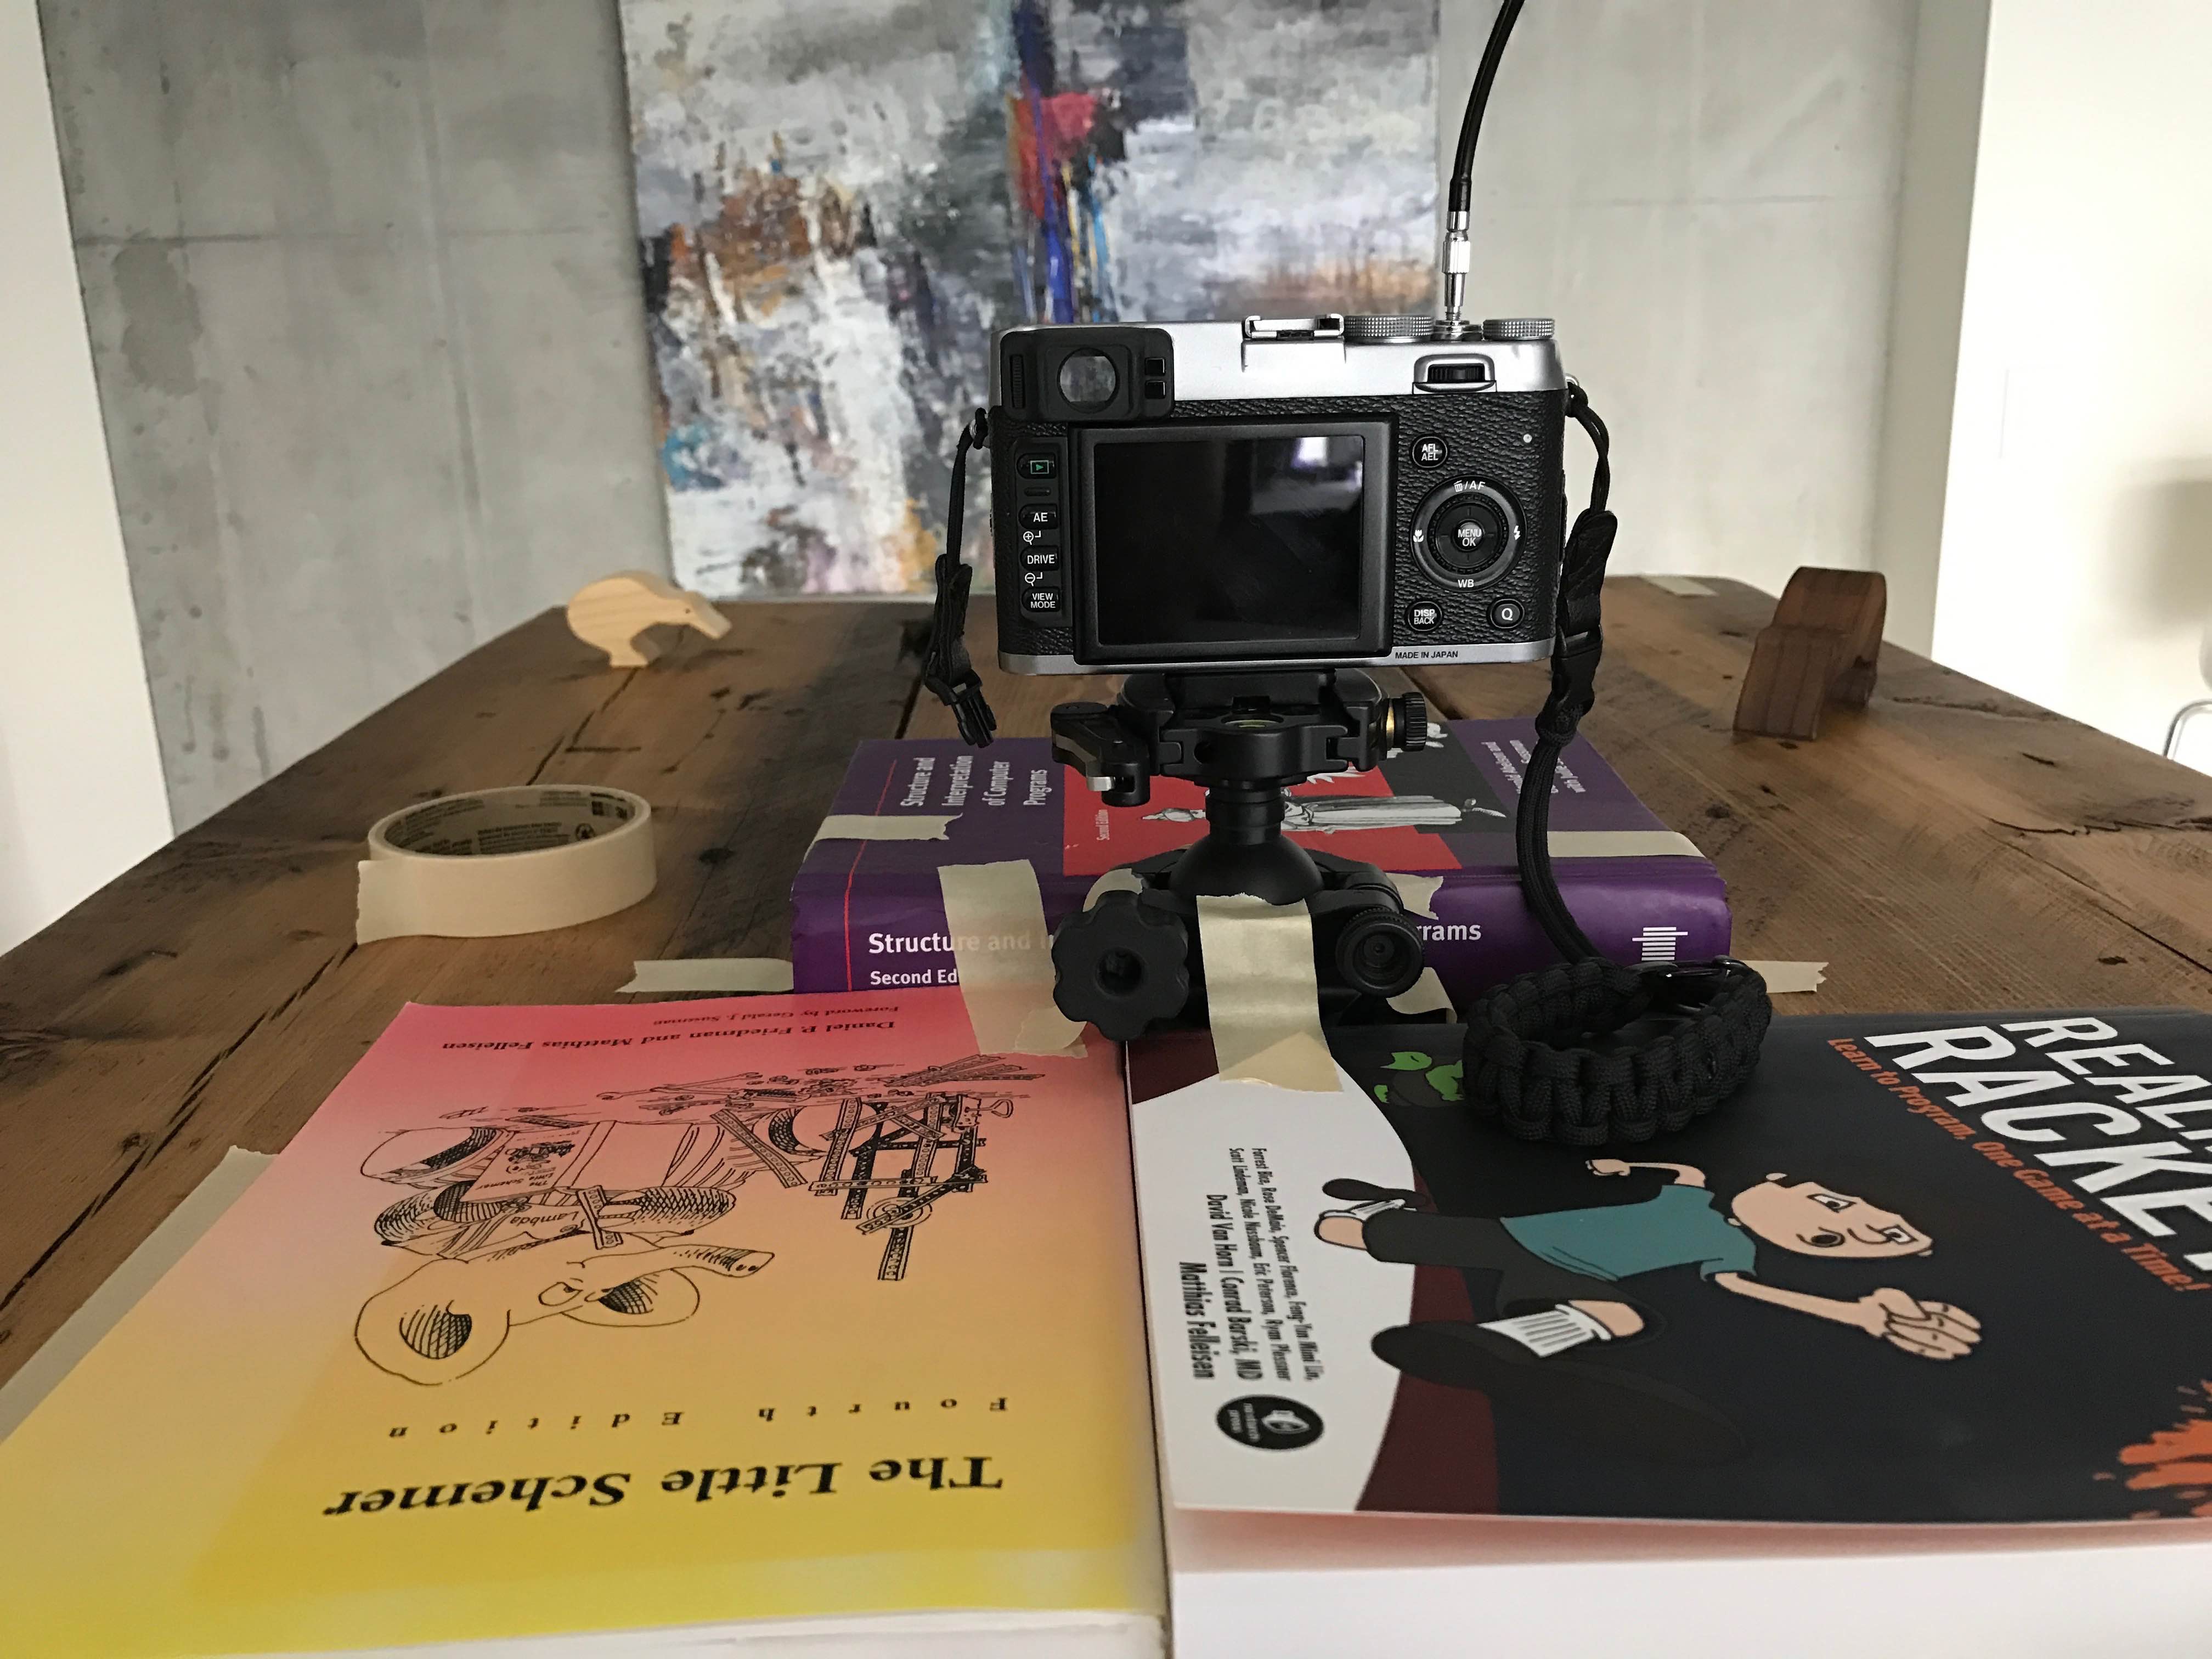
This was almost perfectly stable. Unfortunately, almost isn’t good enough for stop motion.
Due to the manual cable release, or infrequent interactions with the camera controls, or perhaps due to the alignment of the Sun, Earth, and Moon, the position of the camera occasionally moved, ever so slightly, in between some shots.
(Don’t worry, I’ll fix it in post.)
Iliana did such a great job with the illustrations.
Thankfully I used a more traditional tripod configuration when photographing the drawing sequence.
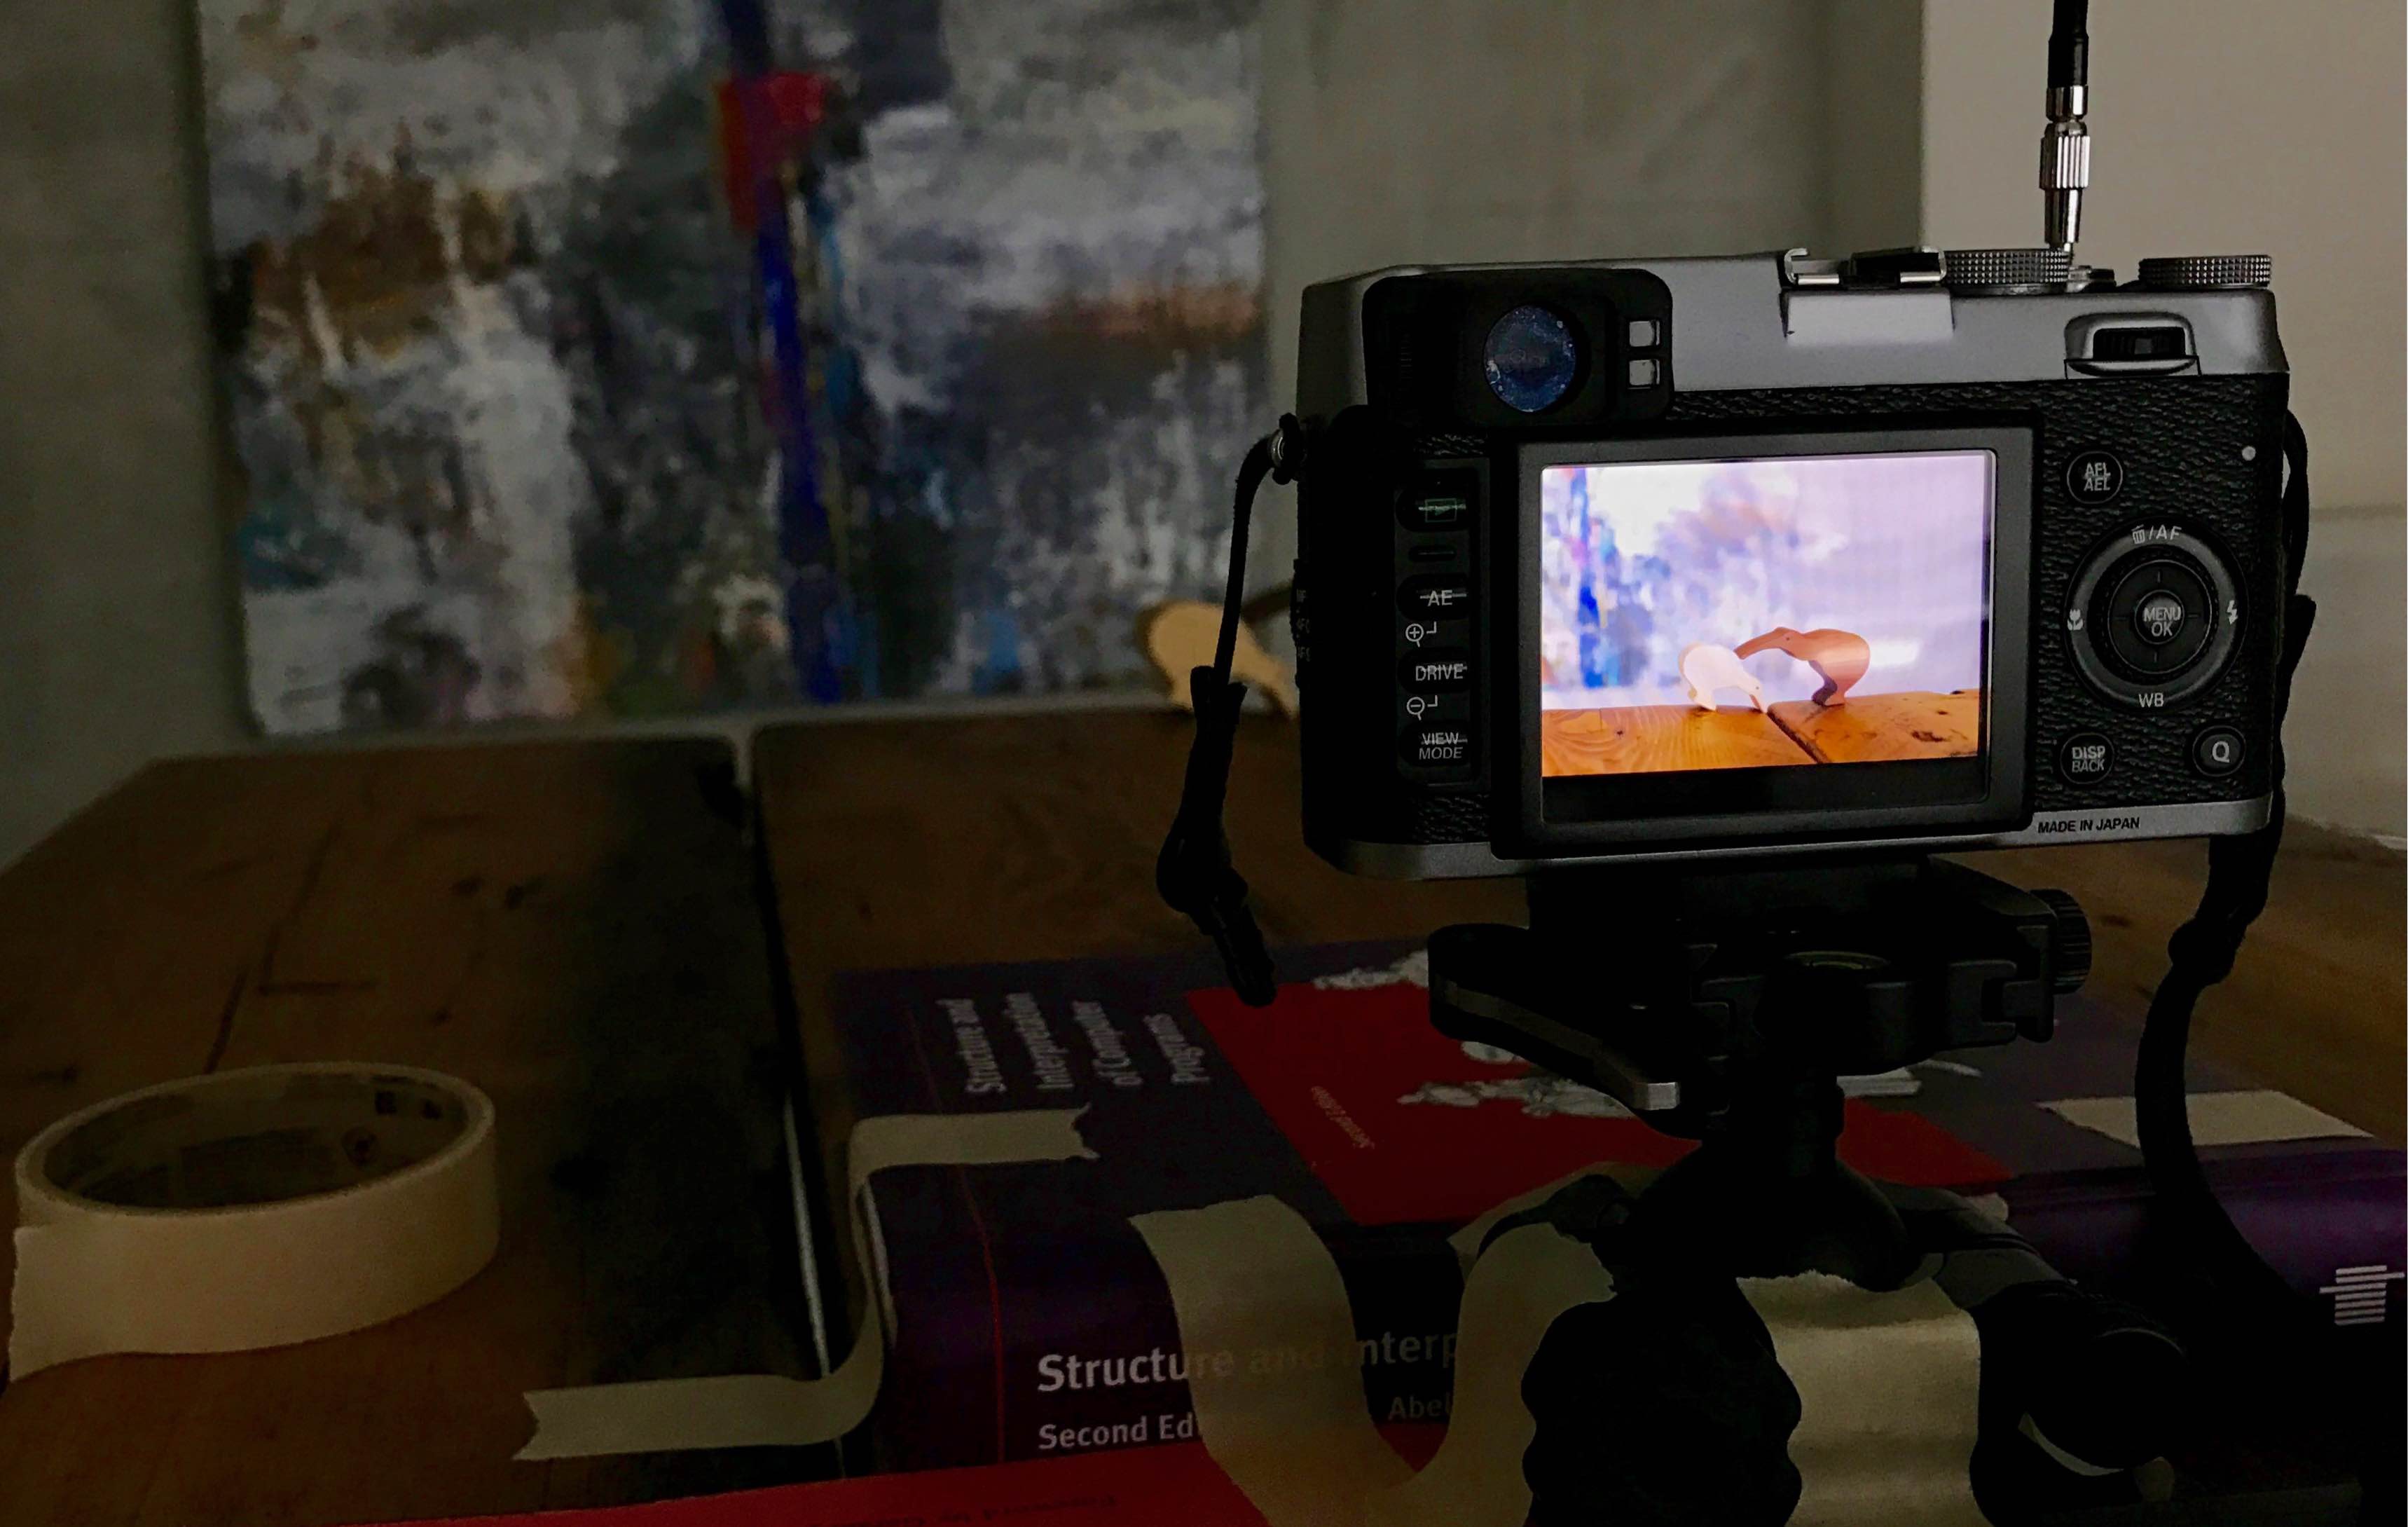
Production Mistake #2: The Sun, as primary lighting source.
It was an overcast day, the blinds were down, and the camera was in a fully manual configuration. But, wow — the exposures5 between shots tended to vary, sometimes quite significantly.
(Guess I’m fixing this in post, too.)
Next time, I’m shooting at night. Lighting the scenes will be a lot more work, but at least the sun isn’t going to poke through and wreak havoc.
Post-Production
Turns out that editing the photos to match exposures between shots was a nightmare.
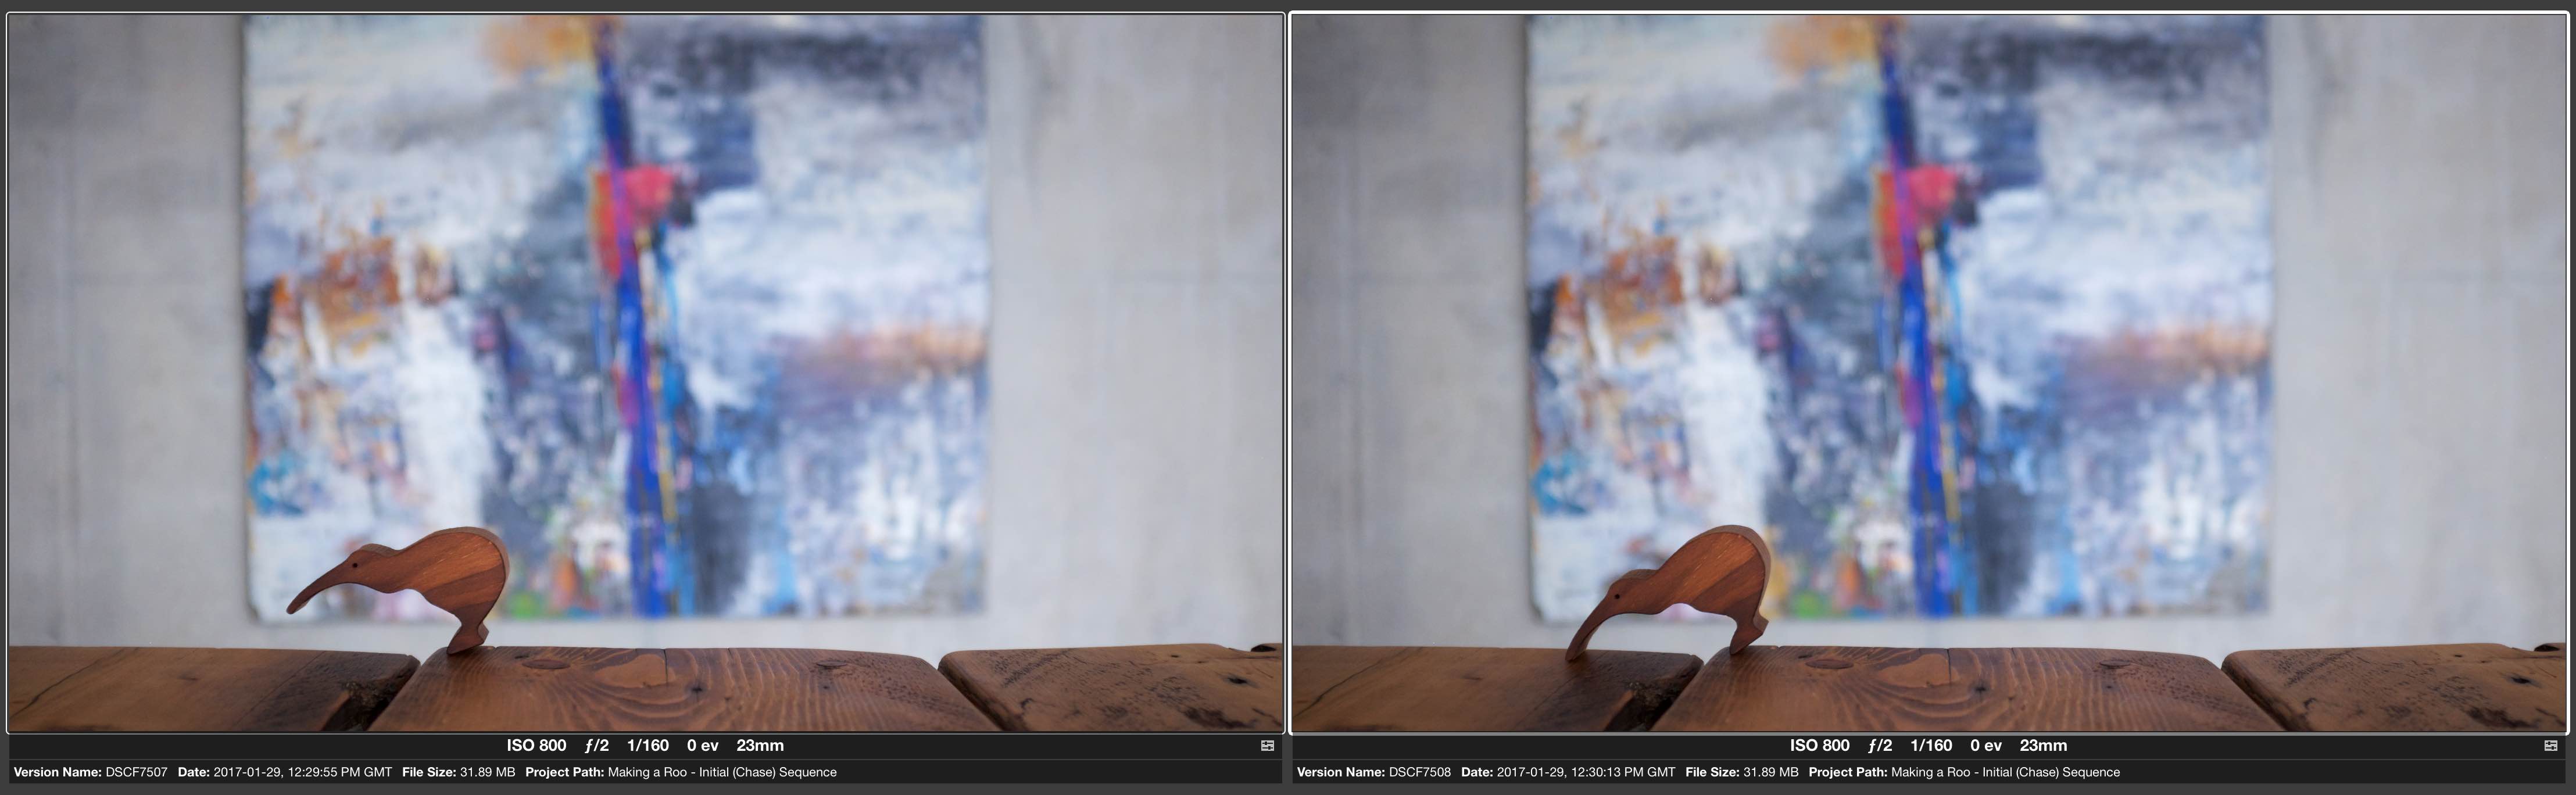
Countless hours of manually tweaking hundreds of photos of photos yielded improved (but not perfect) results.
I’m still an Aperture user. Out of desperation I even tried Lightroom’s “Match Total Exposures” feature, but that didn’t help (here’s why).
One day I’d like to write some software that automates the matching process.
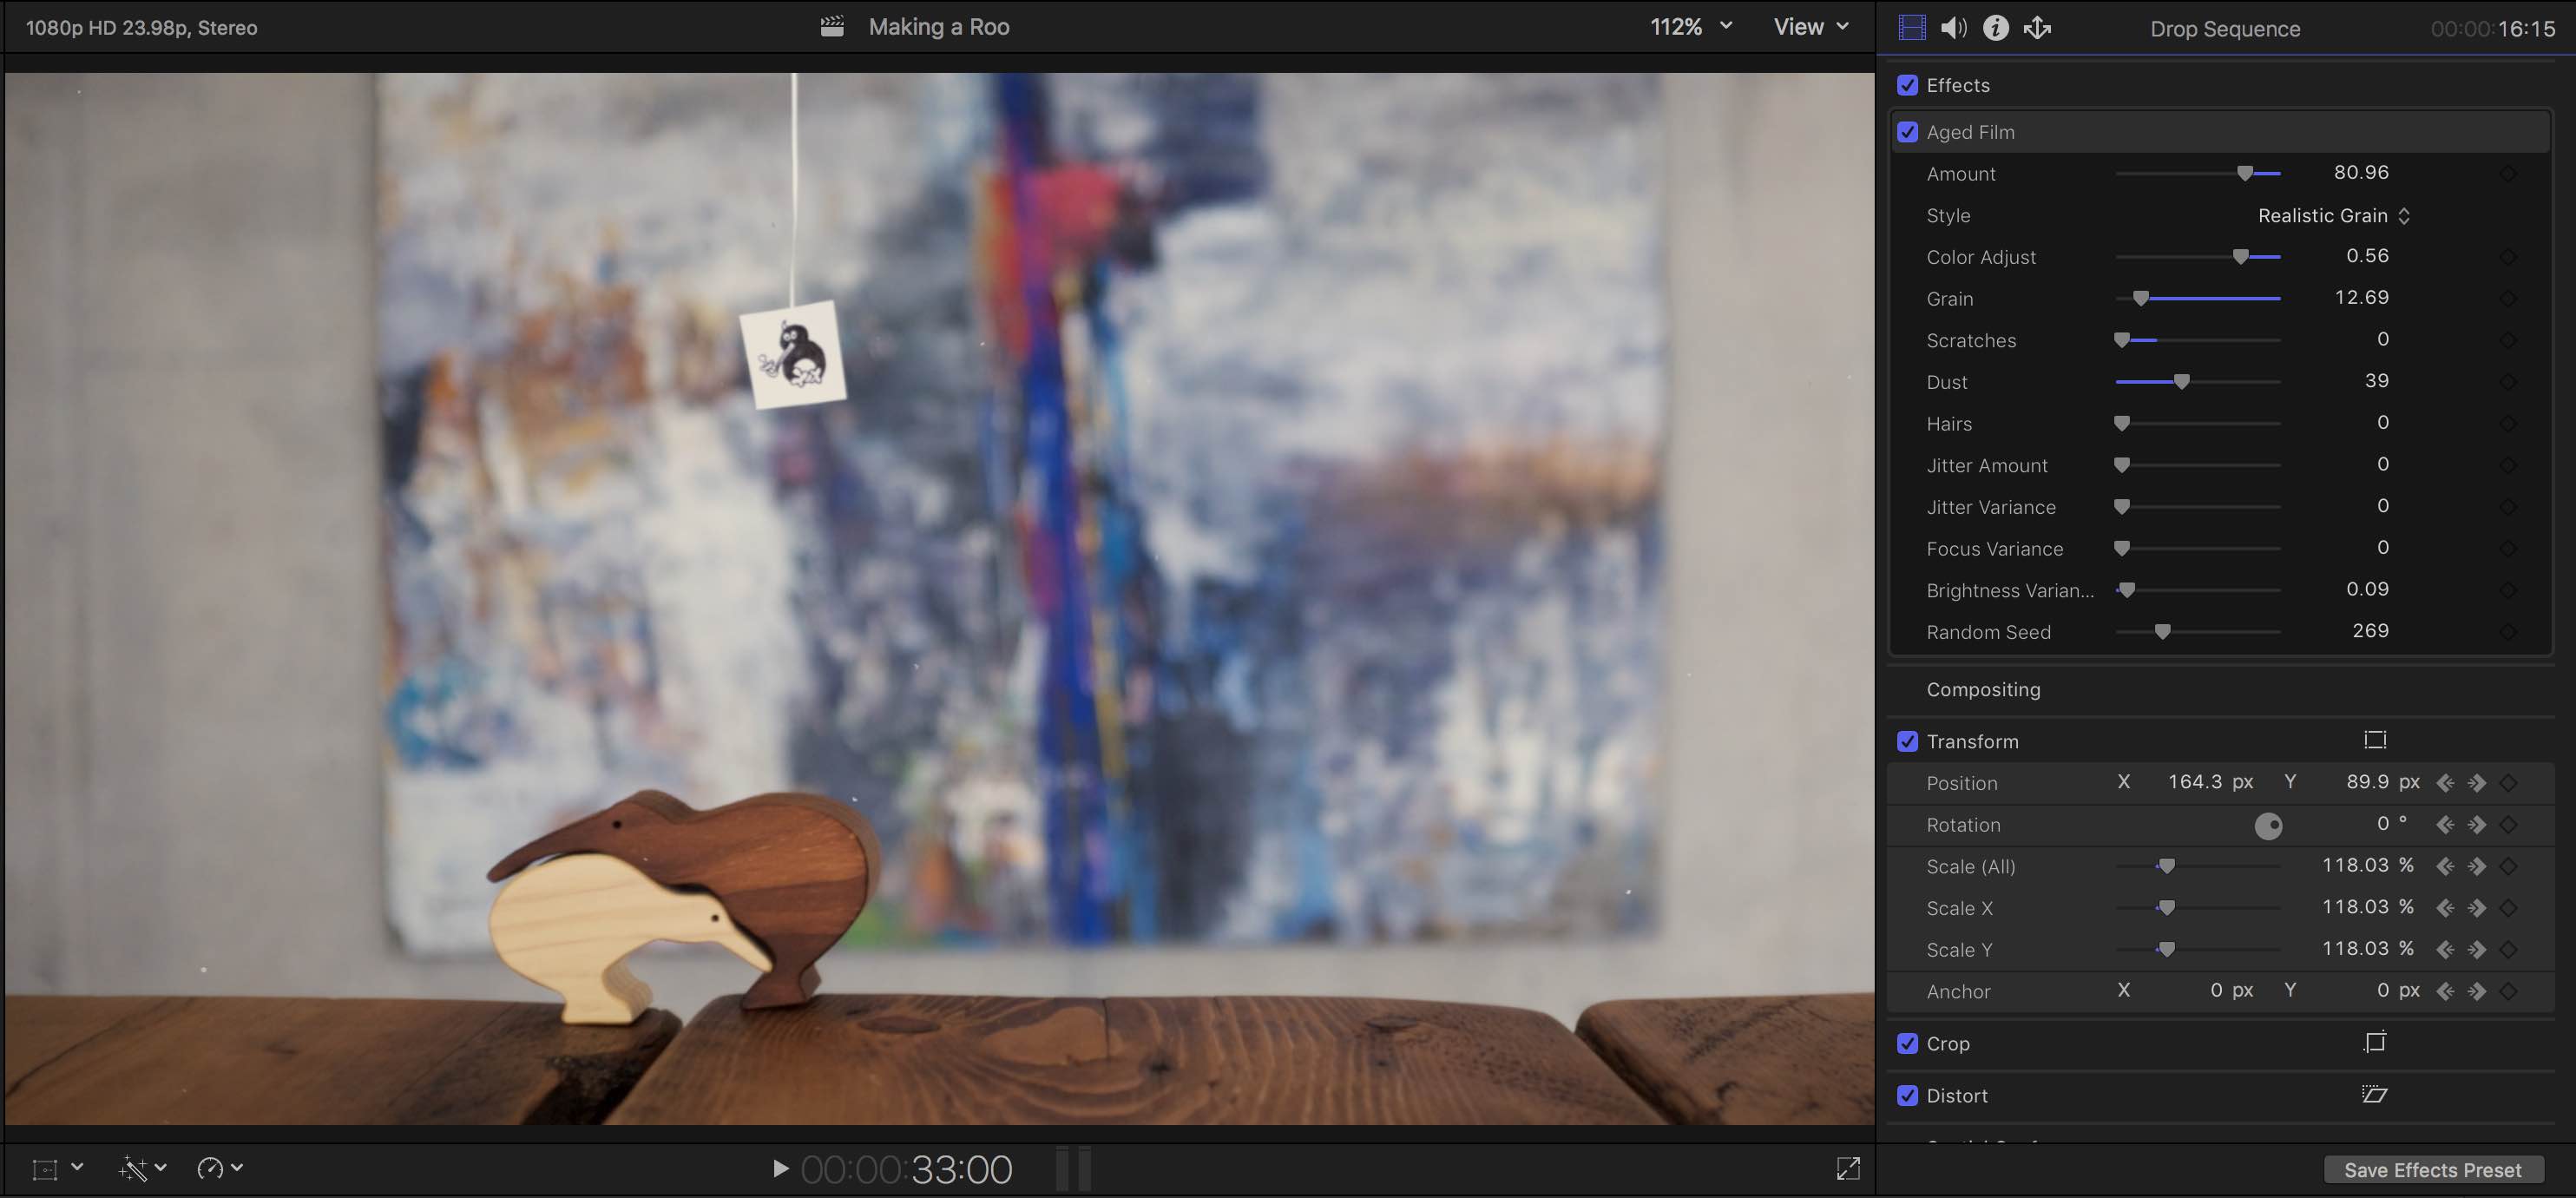
We had been planning on experimenting with the use of a “homemade”, old-school film aesthetic.
However, we didn’t end up having much choice in the matter (given the photography mistakes, reluctance to spend another entire day shooting, and editing inexperience, too…).
So, to make the mistakes look like they were deliberate (I mean, “yes, really, we actually meant to make it look like that!”), we used Final Cut Pro X’s “Aged Film” effect, which helped to paper over the issues. By introducing a slight jitter and brightness variance, we could compensate for the unstable tripod and the differing exposures between shots. (The dust, scratches, and film grain help to sell it, too.)
All things considered, it didn’t turn out that bad. Would have preferred to have been able to dictate the terms, though.
This was my first time using Final Cut Pro X, and I found it intuitive.6
The magnetic timeline seems to be well suited for stop motion (although I don’t have experience with any other NLEs to compare).
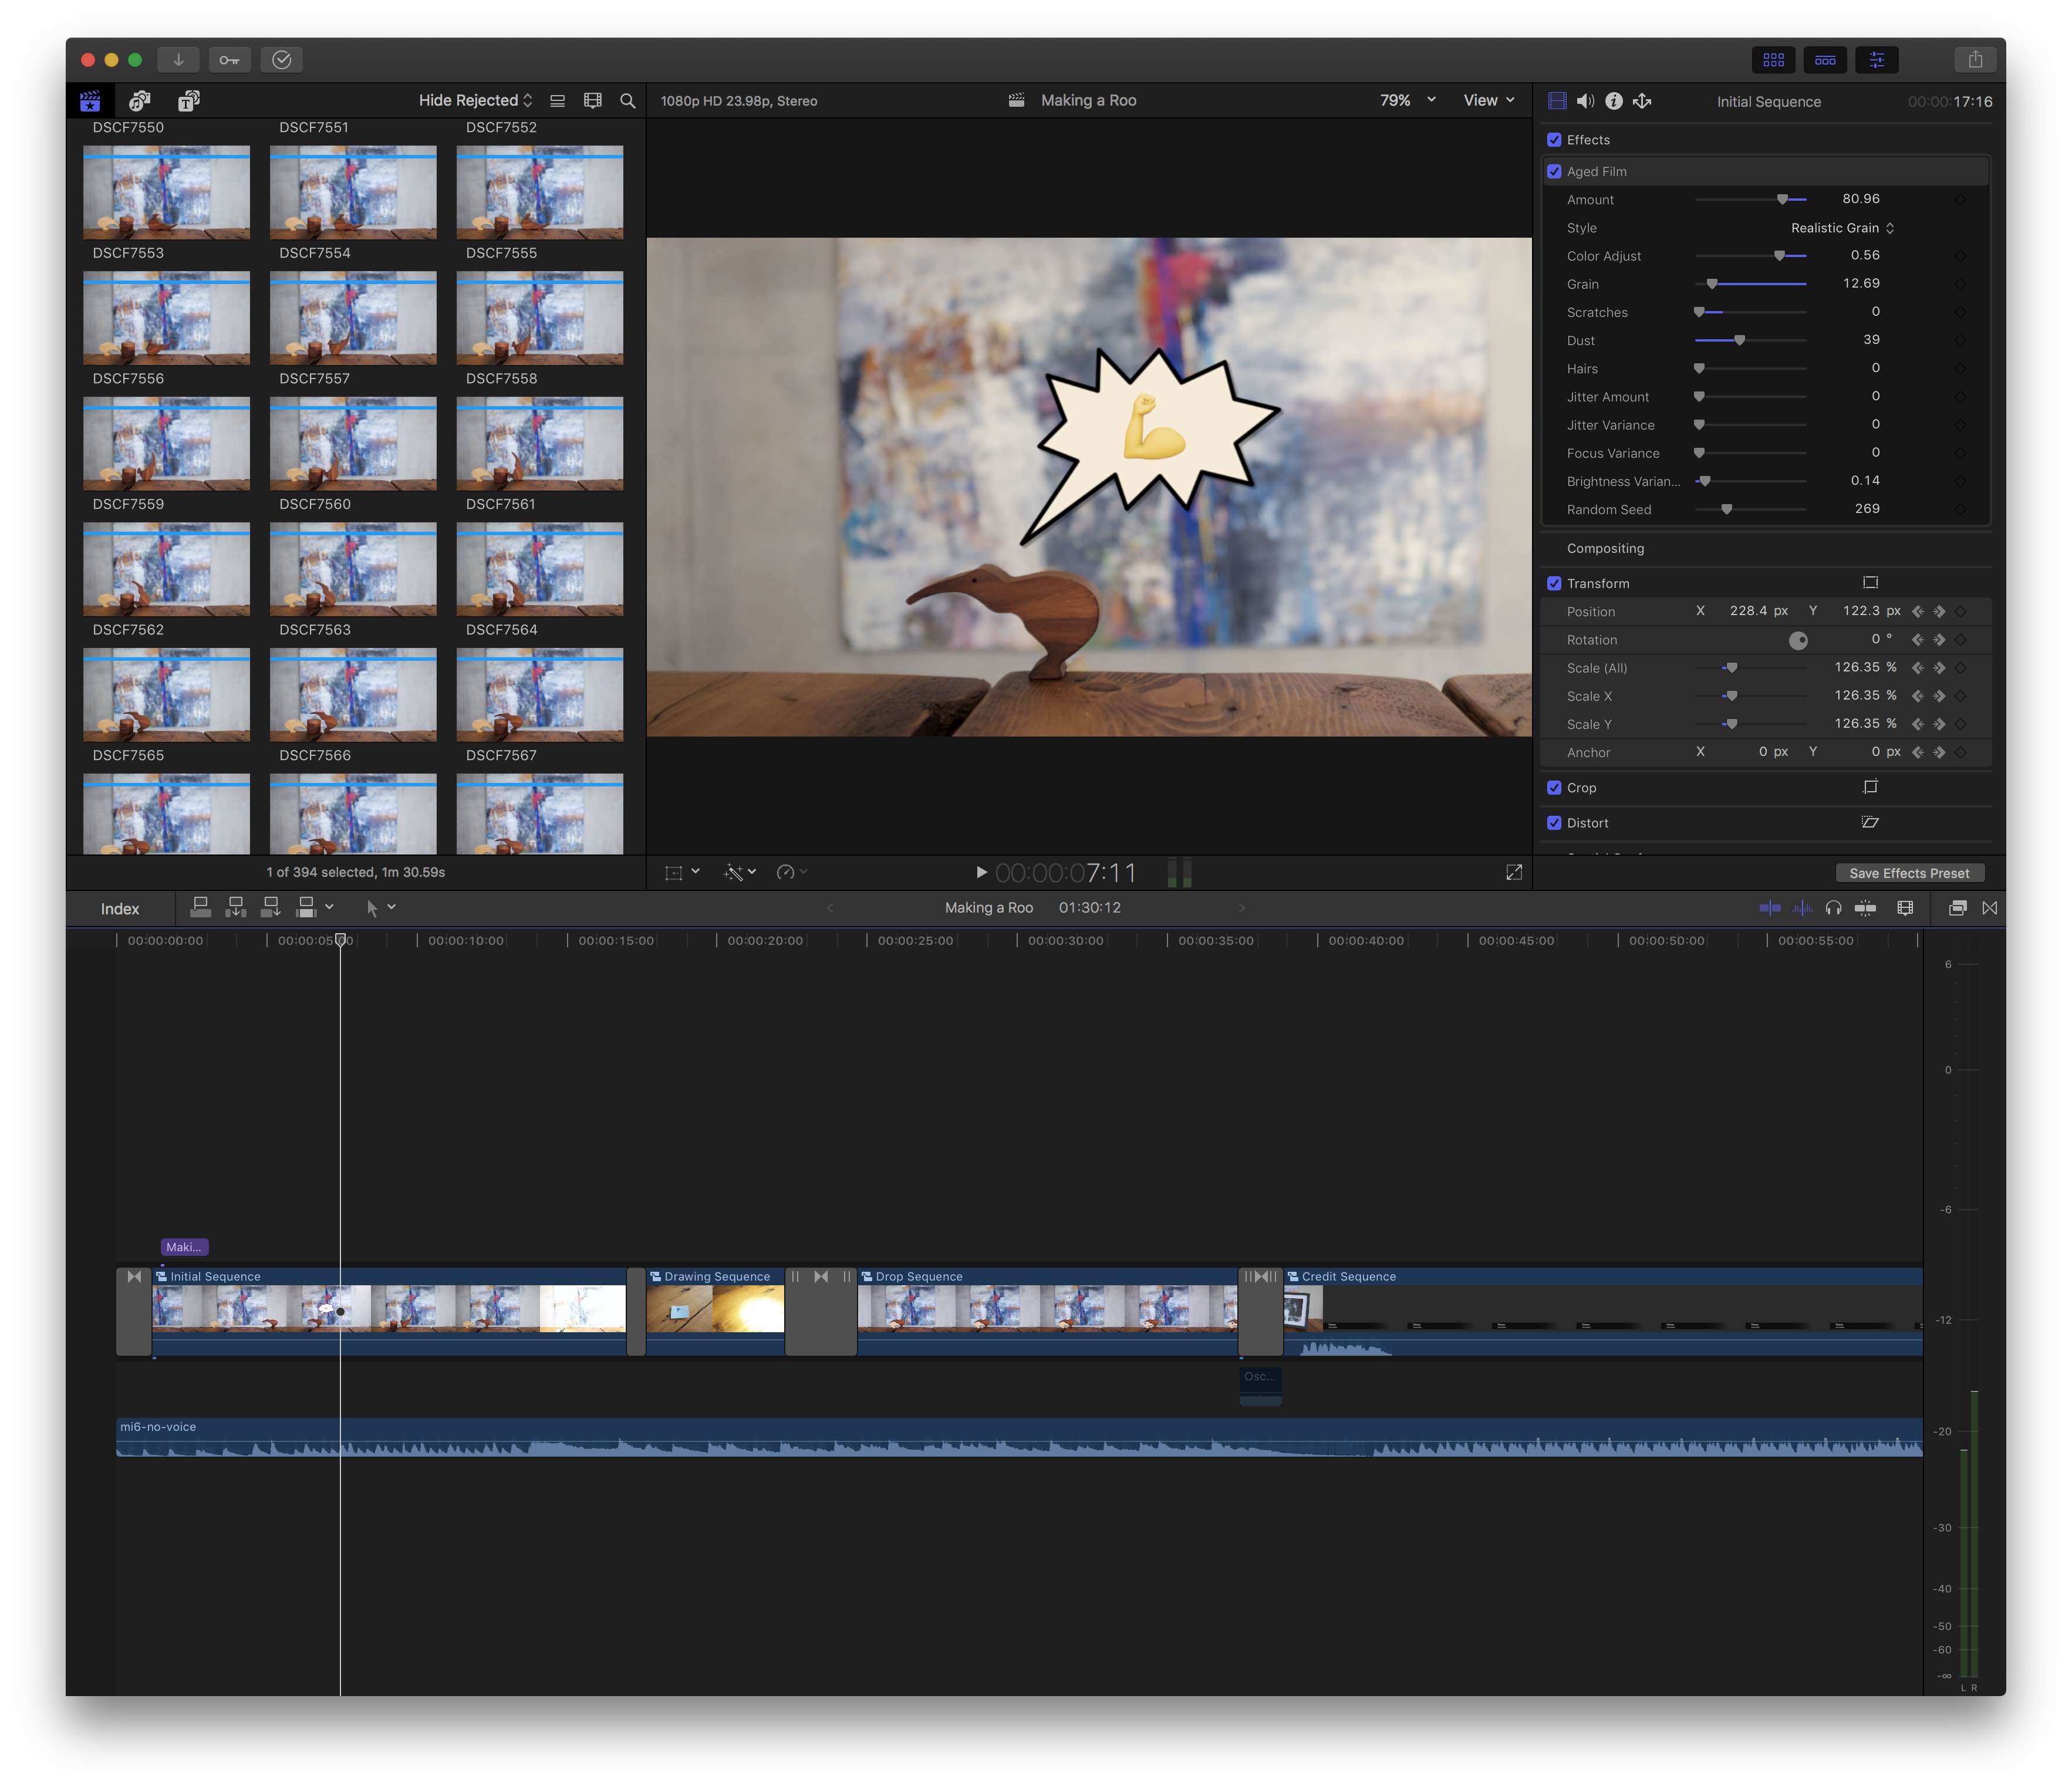
Most importantly, adjusting the timing of each shot (or groups of shots) was a breeze.7
And the sound!
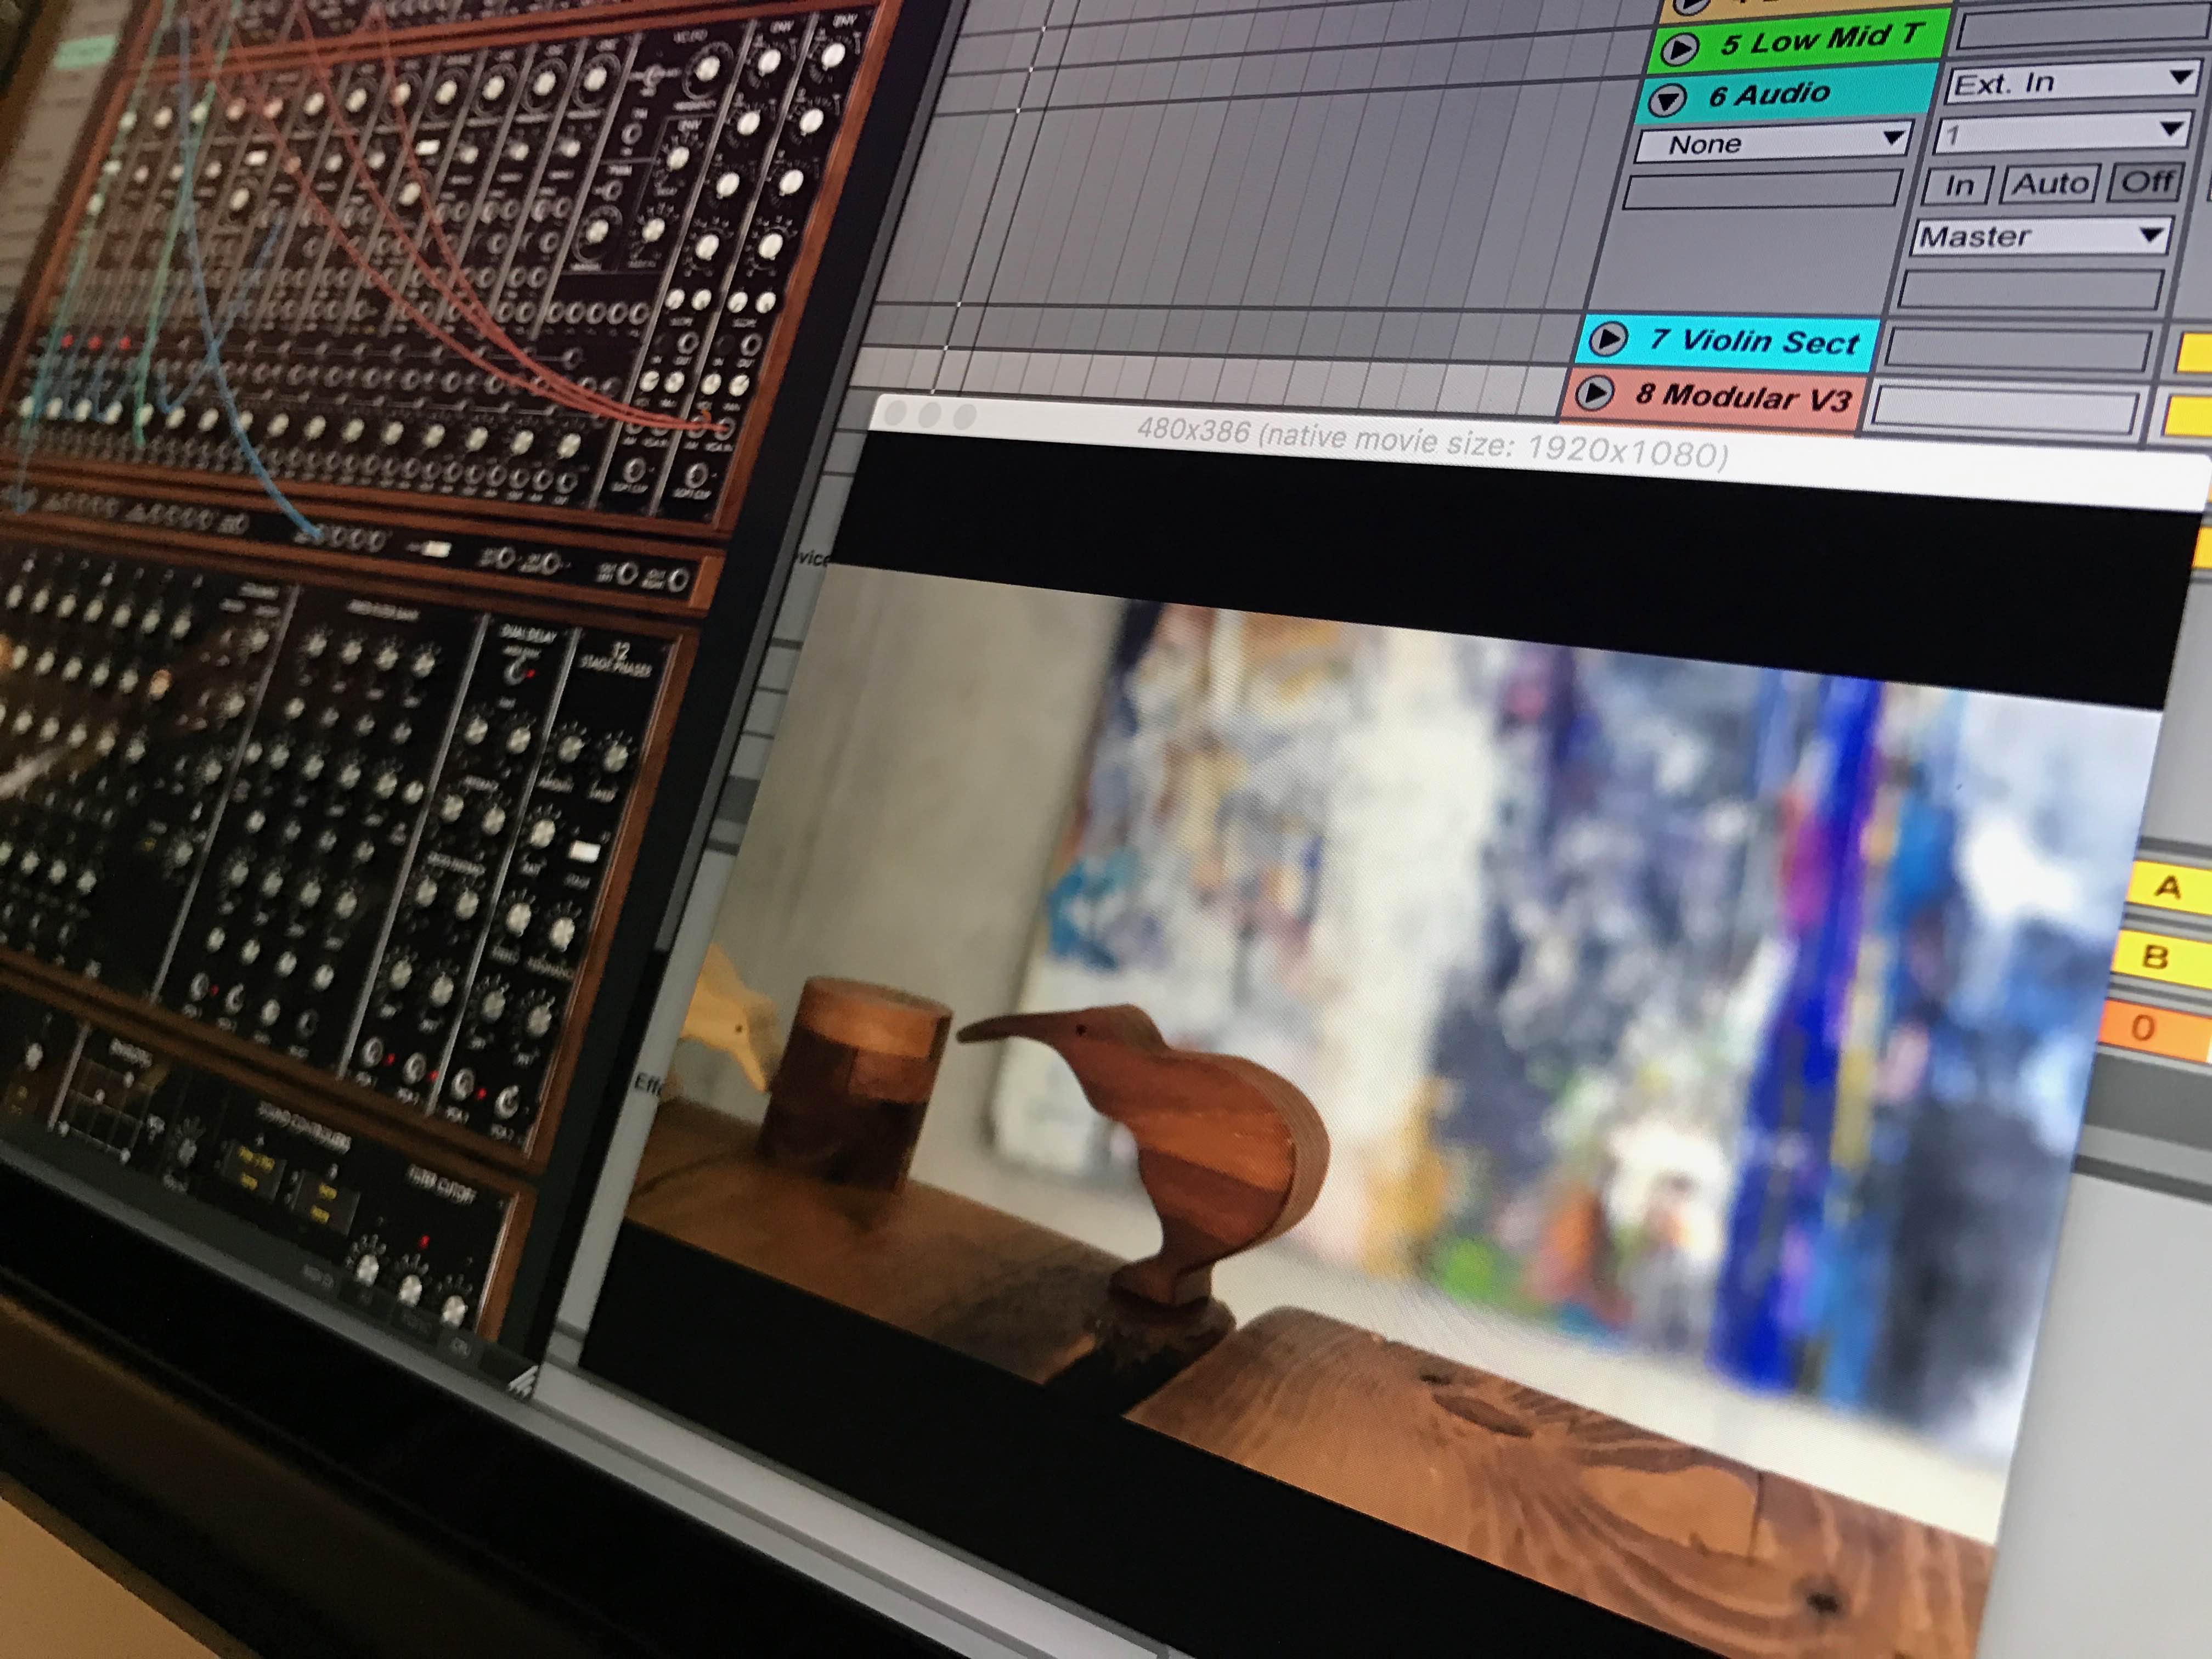
Huge thanks to my brother Daniel for creating the music.
Distribution
Cheers, Vimeo.8
P.S.: Here’s what a scurrying kiwi actually looks like:
Wrapping up my week like dis. pic.twitter.com/AErelI5Jah
— Jan Schaumann (@jschauma) March 11, 2017
Looks just about the same, right?
Nailed it. 😉
-
The incredibly amateur filmmaking process, that is. (Did we mention that we’ve never done this before?) ↩
-
Does this count as a practical effect? ↩
-
In the end, I took just north of 600 photos — and a subset of those shots made it into the final cut. Timing varied, too (more on that later). ↩
-
The X100S’s native resolution is 4896x3264px. At an output resolution of 1080p (1920x1080px) for the film, that left ample room to zoom/crop/re-frame in post, without sacrificing quality. ↩
-
The technical term I might mean to be using here is luminance. ↩
-
For the most part, despite clearly being designed for expert users. (For example: crucial shortcuts that don’t use modifier keys, and limited options in contextual menus.) In other news, the app did hang frequently enough to drive me insane (no beachball, no crash, just frozen). And, even worse (especially for a new user) it had a tendency to completely forget its undo/redo history. Yes, as stressful as it sounds. ↩
-
In the chase sequence, each shot is displayed for a single frame. In the illustration sequence, each shot is displayed for two frames. And in the drop sequence, each shot is displayed for four frames. There are some exceptions, though (for example, during transitions). ↩
-
And thank you for reading (and watching, too)! ↩